Boosting Efficiency with Reach Templates: A Guide to Customized Messaging
Overview
The Reach app utilizes basic template fields for first and last names, nicknames, and relationships. These template fields allow you to customize your template to make your messages more personal. Likewise, adding custom template fields for your specific needs is also possible.
In this article, you will find advanced tips on using template fields in templates. If you have never worked with template fields before, it's recommended to start with the basics in "Personalize Message Templates With Template Fields".
Use Case
For example, an organization planning a fundraiser may need to order t-shirts or tank tops with a logo for each participating member. As requests are submitted, it's important to track the type and size of each order and send a confirmation before finalizing the order.
1. Prepare Group with Contacts For Further Work
To start, you need to create or duplicate a group with contacts in Reach to whom you plan to send order updates.
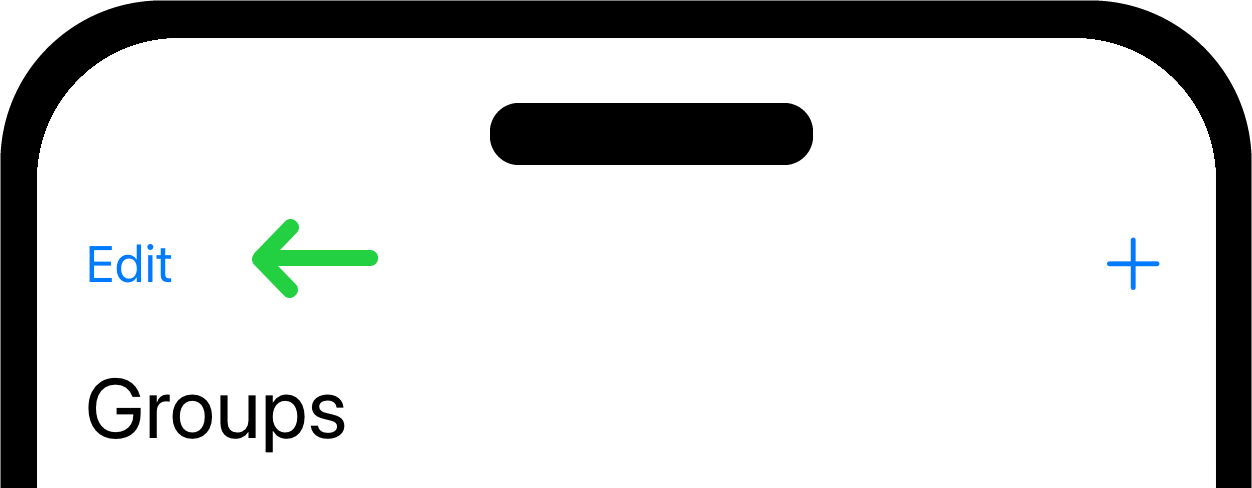
Open the Reach app. Go to Groups. Tap “Edit” at the top left.
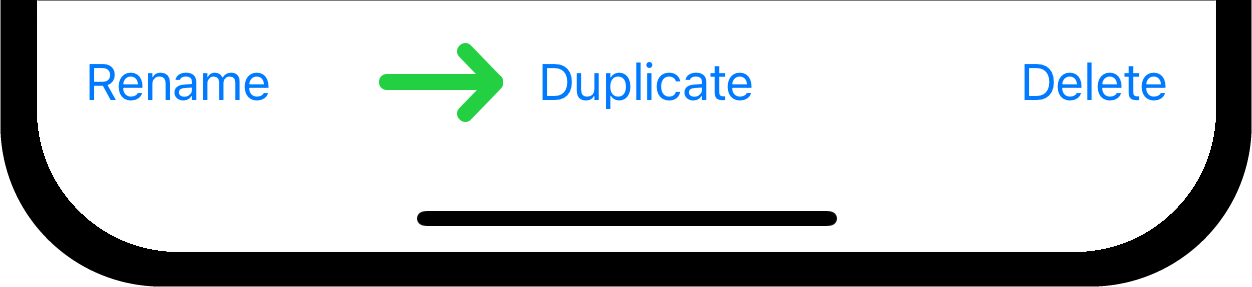
Tap on the group that you want to duplicate and then tap "Duplicate" on the bottom center.
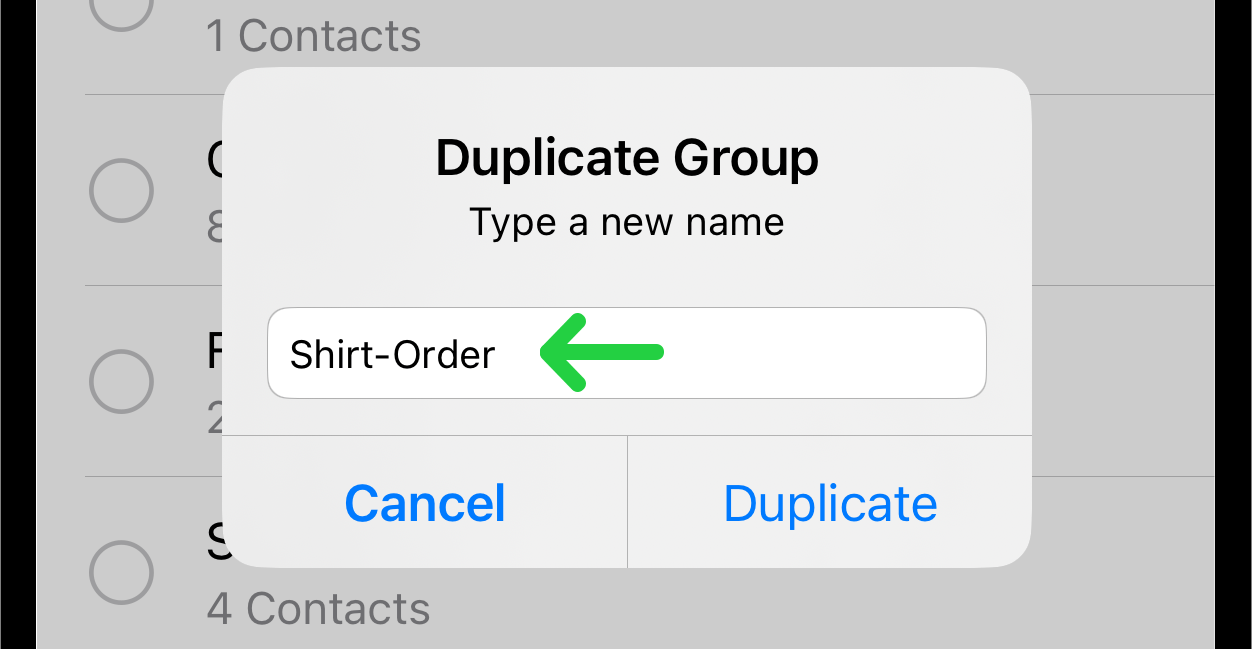
Set the name for your new group. Based on our use case, let's name the group "Shirt-Order".
To simplify managing contacts, it's recommended to continue the work on your personal computer. To do this, you'll need to export the group to a CSV file.
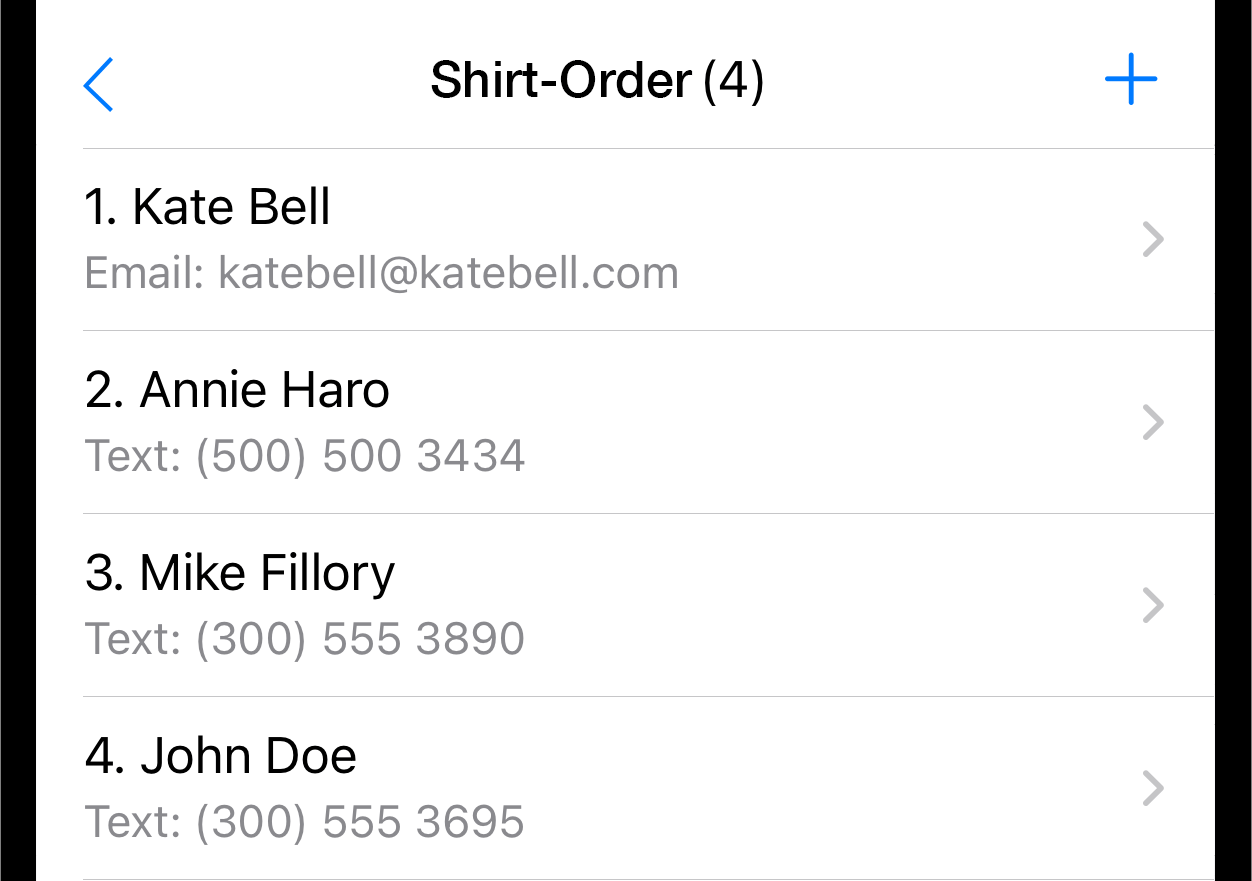
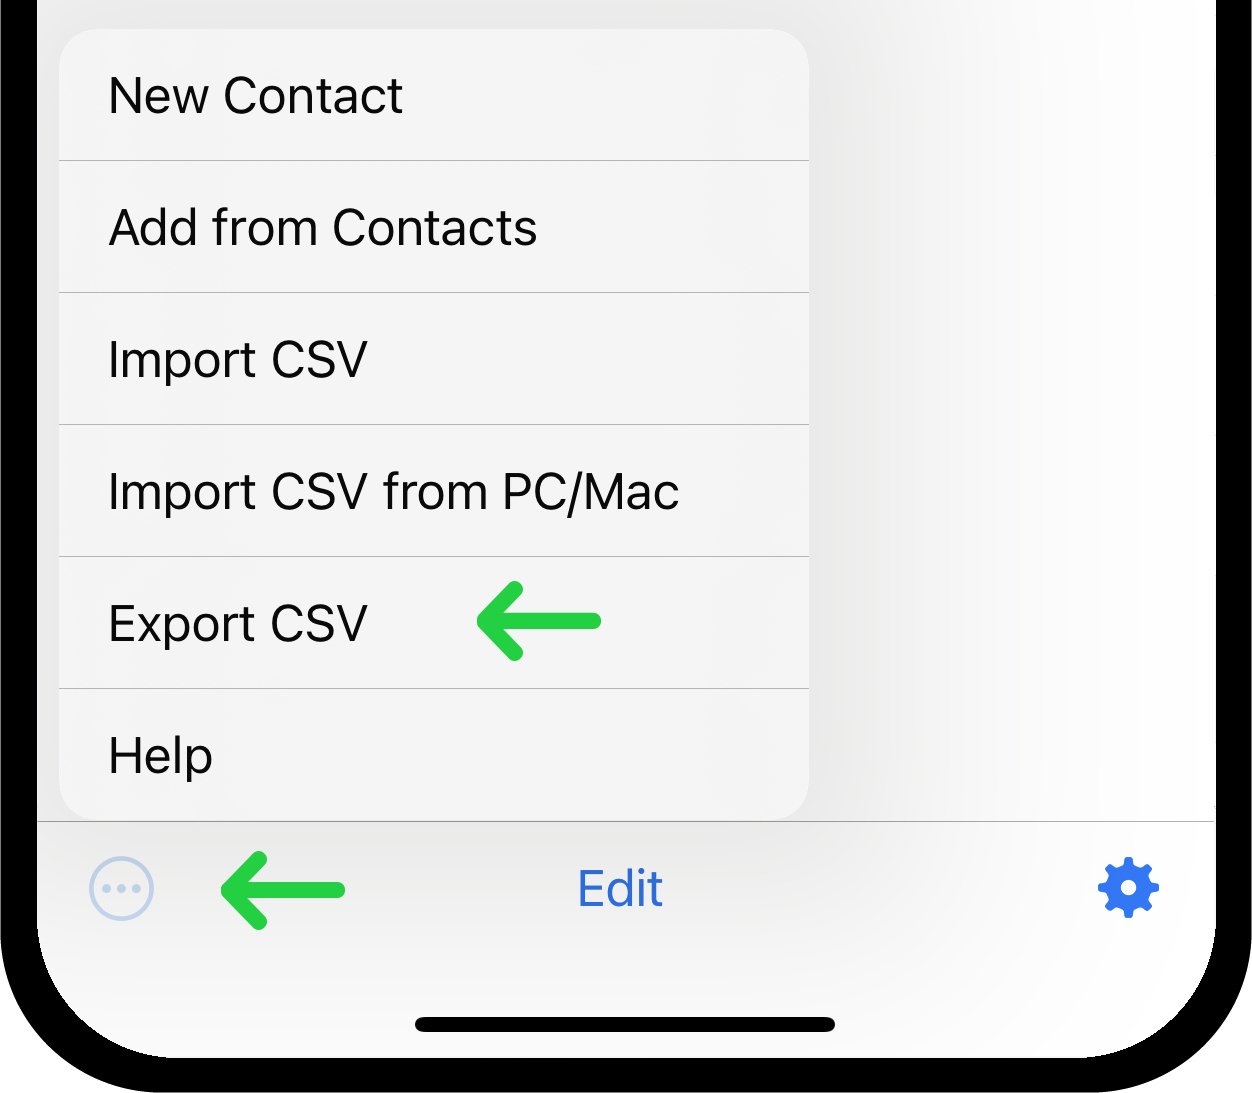
Open the duplicated group by tapping on it. When you open the group, you will see a list of contacts that will be exported.
Tap the circled button with three dots in the lower left corner and choose "Export CSV".
Save the CSV file on the device and transfer it to your PC/Mac. You can either transfer the file via AirDrop or send it by email.
2. Working with Contact Data and Filling in Template Fields
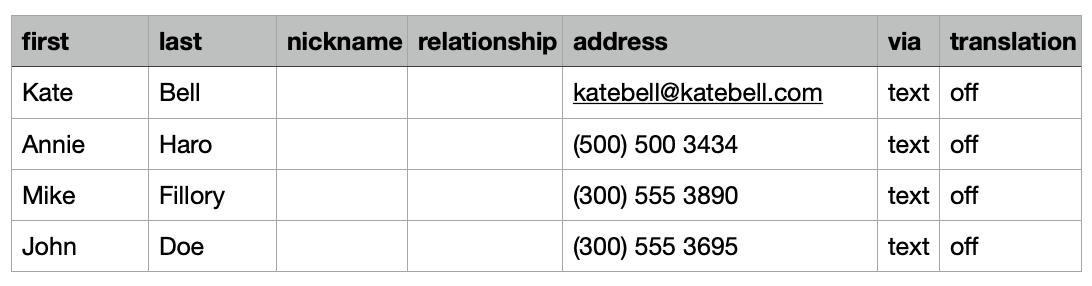
Open the transferred CSV file in the program that supports .csv format (e.g., Google Sheets, Numbers, Microsoft Excel, etc.). The file will look like this:
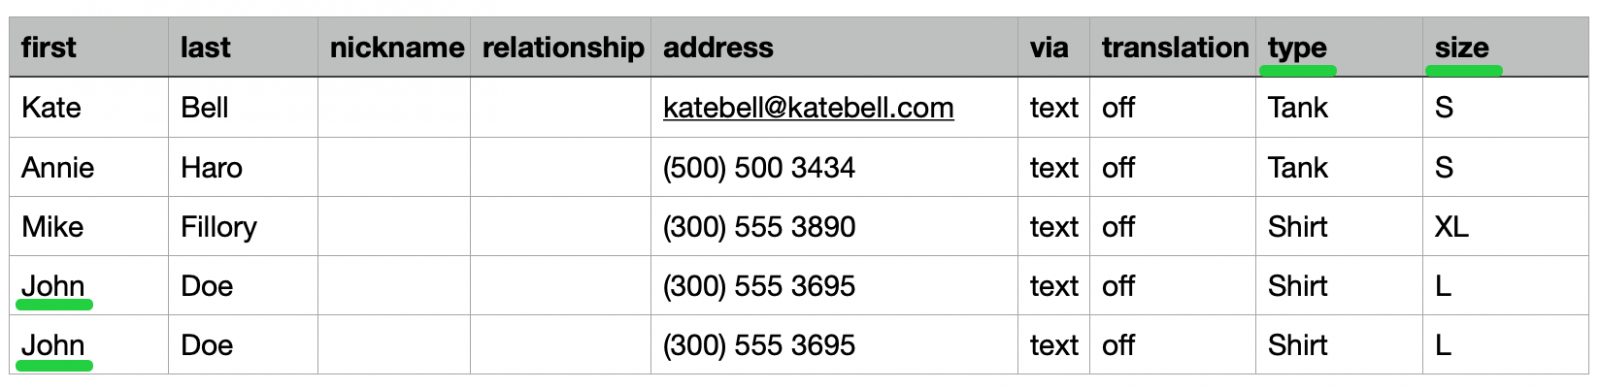
In addition to the existing columns in the table, the columns "Type" and "Size" should be added as part of the Use Case mentioned above. These columns will serve as Template Fields in Reach. You can add any other column names as Template Fields that fit your specific case.
Note: Custom template field column names should not overlap with standard template fields such as "first", "last", "nickname", "relationship", "address", "via", and "translation".

Based on the Use Case, the added columns should be filled in accordingly. As orders are received, the type and size of each person can be added. If someone is not ordering a shirt, the row containing their name can be deleted from the table.
If a person is ordering two shirts, an additional row should be added for their second selection. According to the data in the table, we can see that John ordered two shirts in the same size.
Save the CSV file once all changes are made. Next, this file needs to be imported into a group in Reach.
3. Importing the CSV File into the New Group
Reach offers multiple ways to import the CSV file, which are detailed in the "Import and Export" section of the Documentation. Let's send the file via email, download it to the phone from the received email, and import it into the group in Reach directly from the phone.
Within Reach create a new group and name it "Confirm". After the group is created, it will automatically open. There are no contacts in it yet. Let's import them using the transferred file.
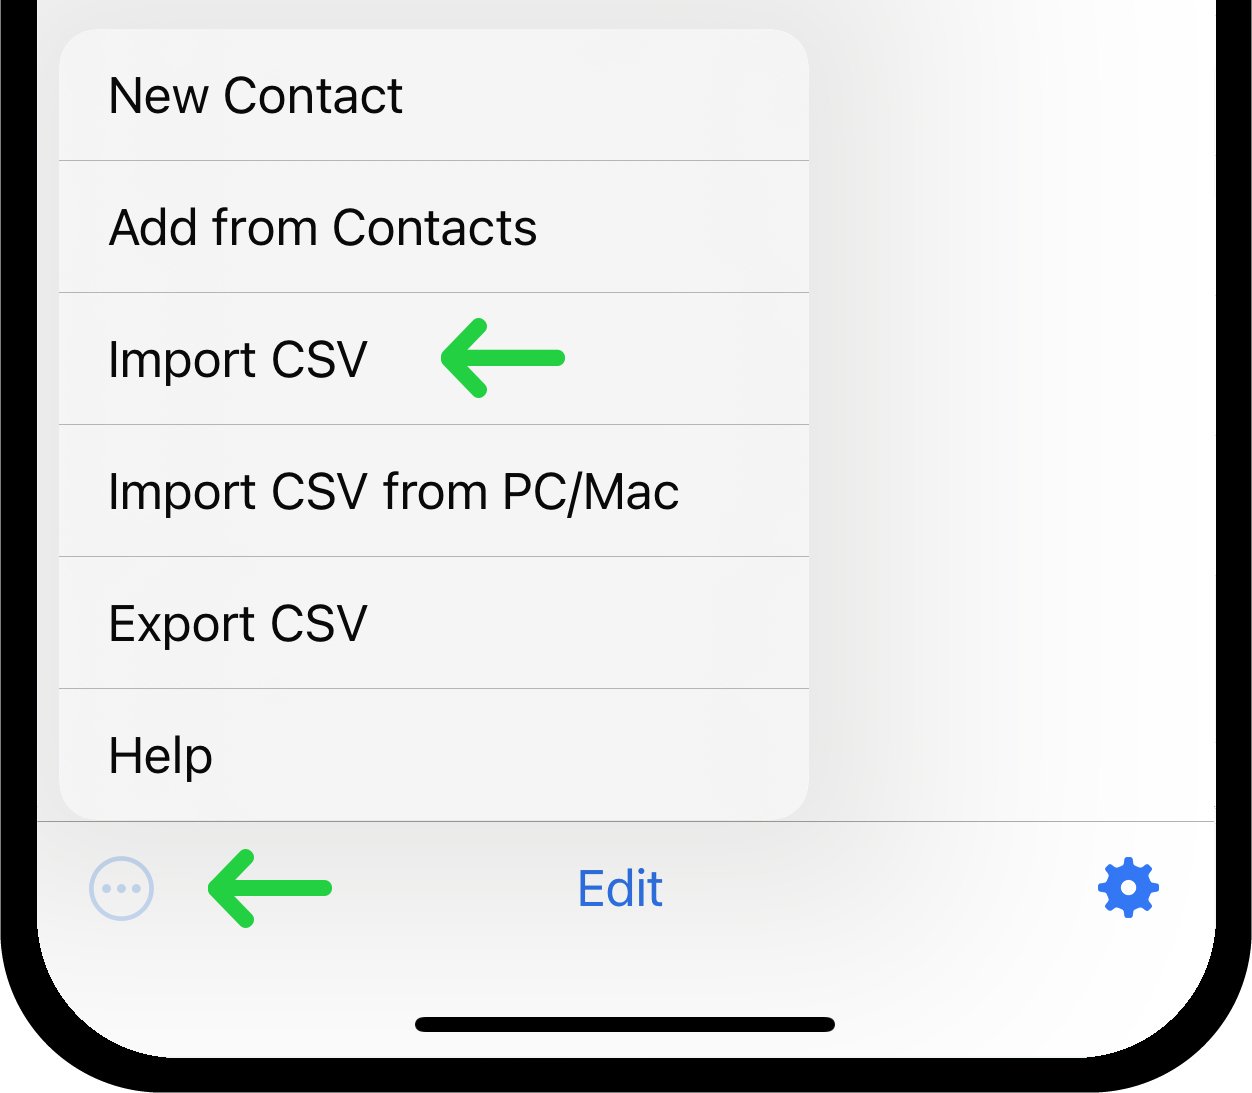
Tap the circled button with three dots in the lower left corner and choose "Import CSV".
Select the CSV file from your “files” on the phone. Tap the "Done" button in the upper right corner to finalize the import.
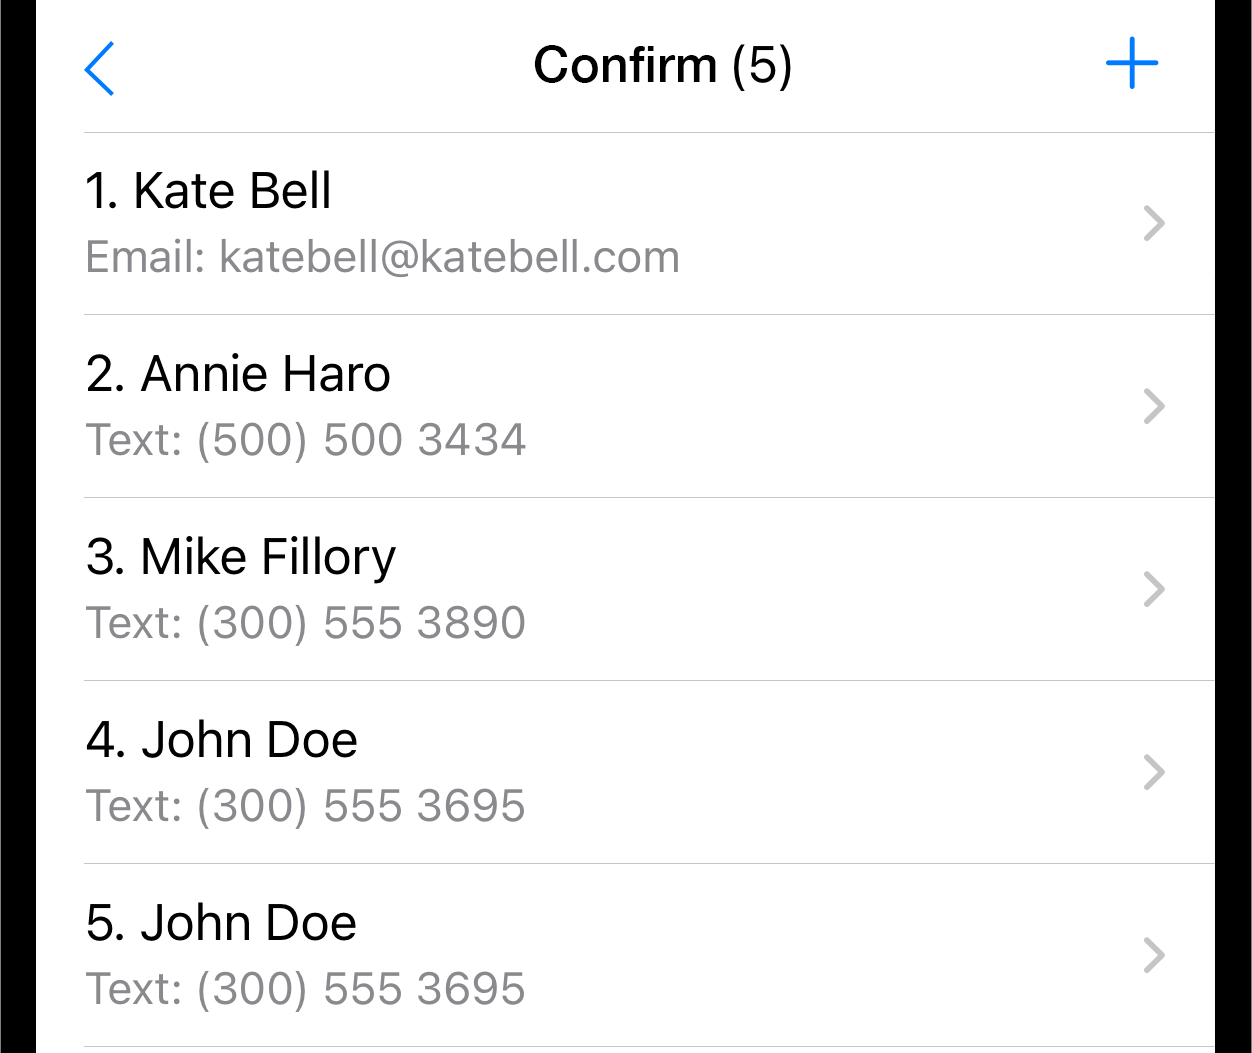
Now you have a Confirm group with all the order information.
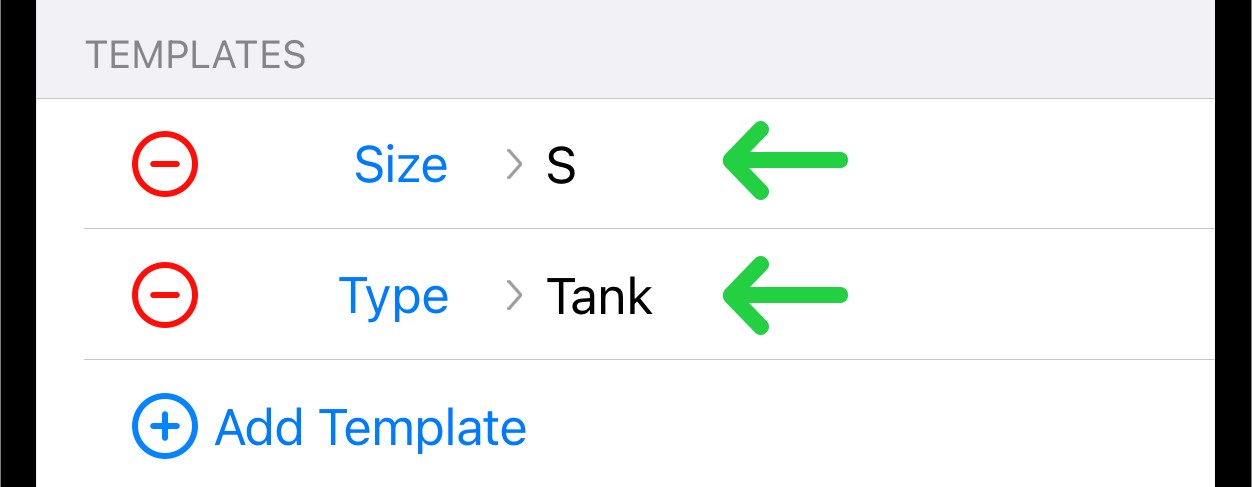
After a successful import, each contact will have new template fields with the corresponding data filled in. The template fields can be found on the Contact's Edit page. You can open each contact in the group and check the template fields.
4. Creating the Message Template With Added Template fields
It's important to send a confirmation message to the members to ensure no mistakes have been made.
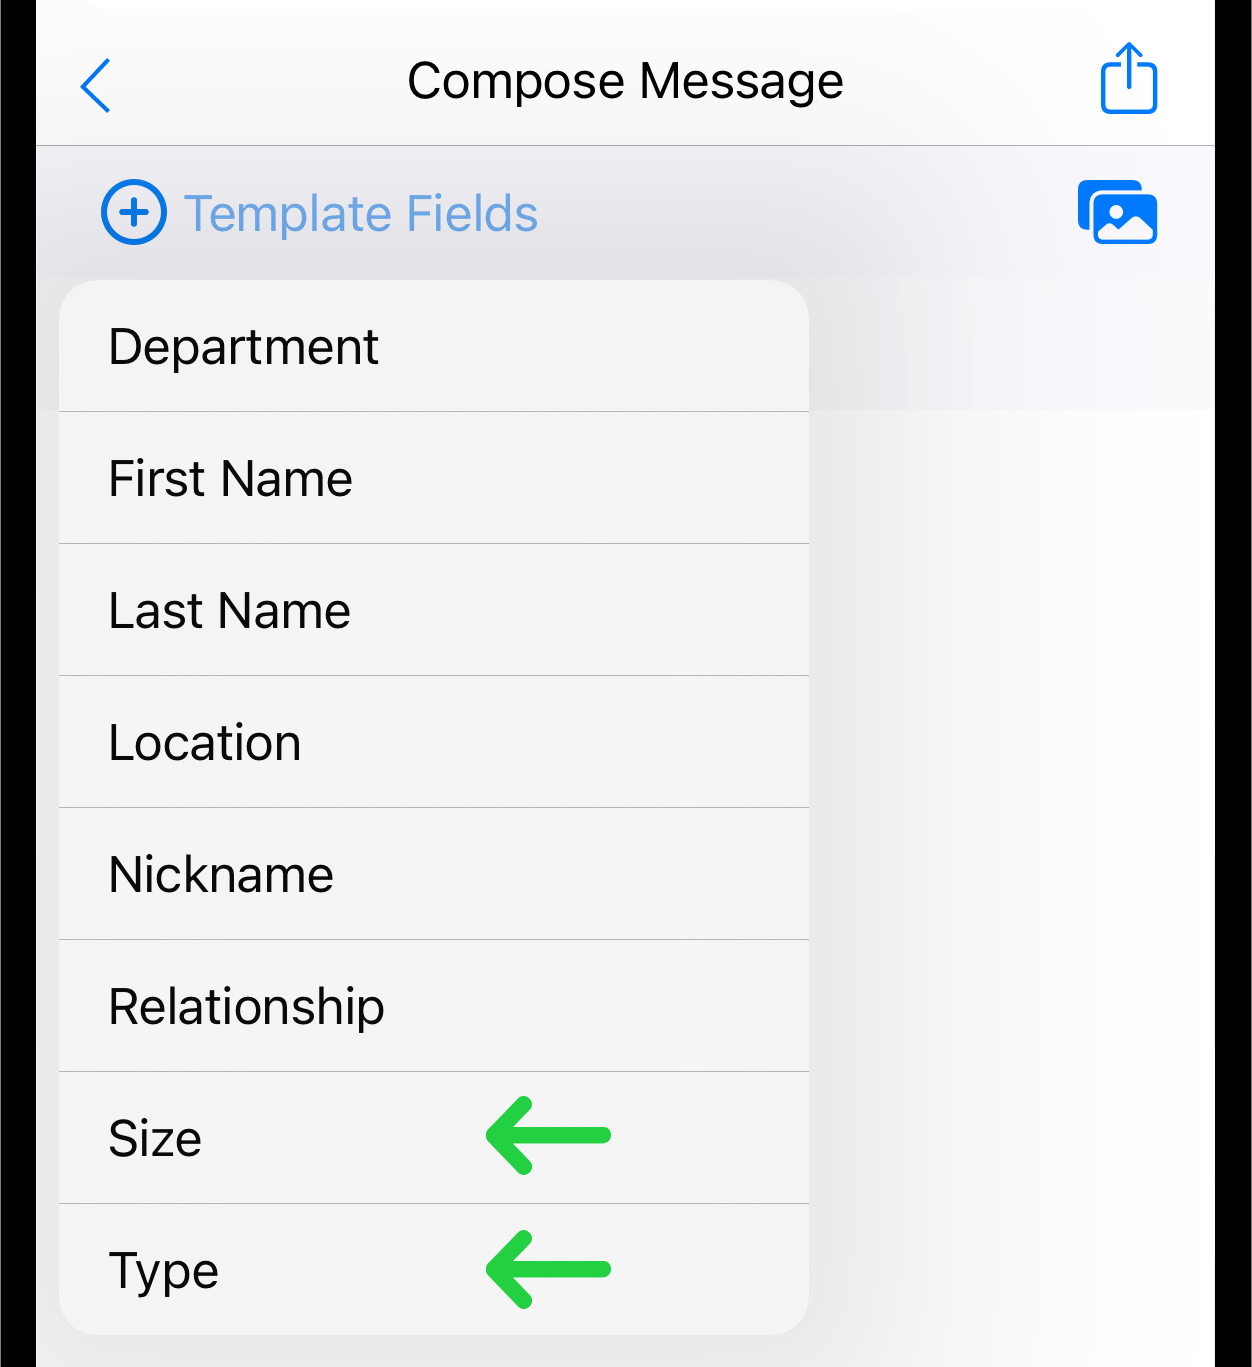
Go to the Templates. Now you can create a template using the Template Fields. The template fields that were imported will also appear in the dropdown list of Template Fields during the template composition. Tap the Templates fields button to see the dropdown list with existing template fields.
By tapping on a template field from the list, you will add it directly to the message template.
Create your template like this using Template Fields:
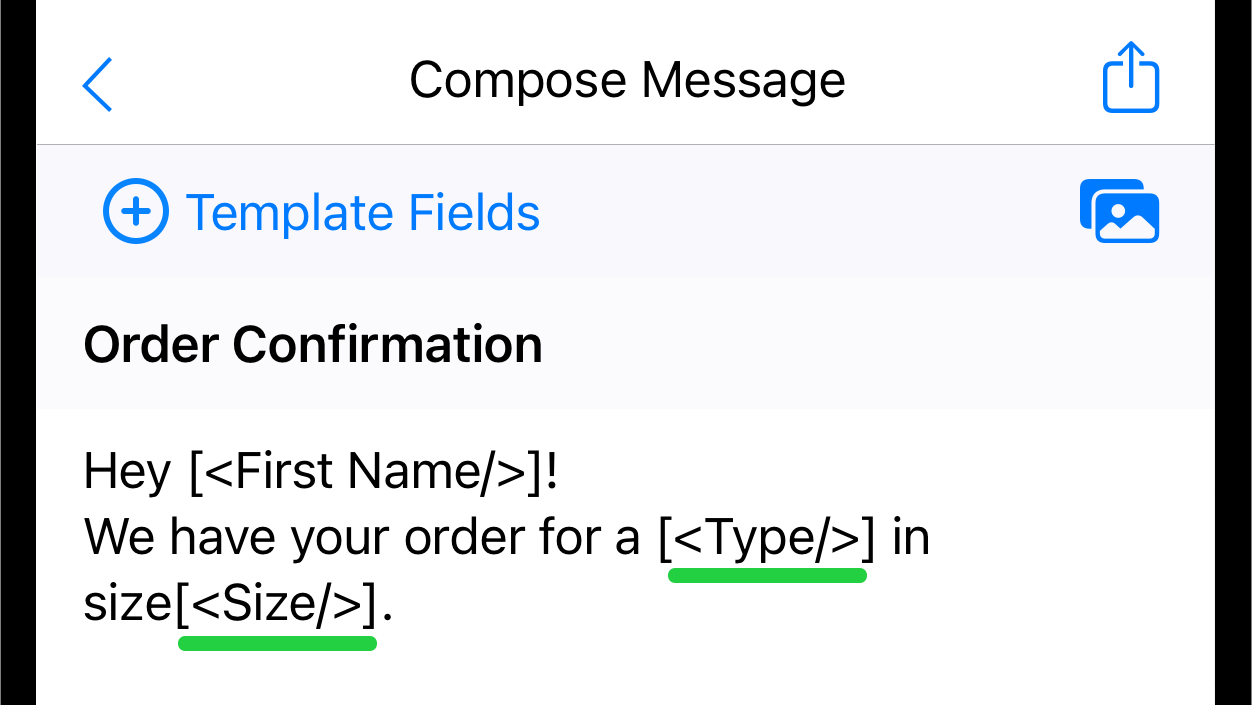
Contacts from the "Confirm" group who will receive this template will see it as follows:
"Hey Kate! We have your order for a Tank in size S."
"Hey Annie! We have your order for a Tank in size S."
"Hey Mike! We have your order for a Shirt in size XL."
"Hey John! We have your order for a Shirt in size L."
"Hey John! We have your order for a Shirt in size L."
Note that John ordered two shirts, so he was listed twice in the table. After importing contacts, his contact was also imported twice into the Confirm group. Therefore, he will receive two SMS messages about his order.
You can add to the template additional wording saying “If you ordered two shirts you will get two text messages”.
Assuming no corrections, the order can be placed. Your "Confirm" group also may be used to send a text with pickup instructions.
Reach simplifies communication, ensuring accuracy and saving you significant time.