How to Start Messaging Through Reach Line
After your 10DLC campaign has been approved, you need to connect a Reach Line number to the Reach app before sending messages. To do so follow the steps in the How to Connect a Reach Line Number to the Reach App.
Once your Reach Line number is connected to the Reach app, update the "Send Via" setting for the contacts you want to message through Reach Line. Below, you’ll find the steps for how to do this.
Update the Send Via Setting
1. Tap the "Groups" tab in the Reach app.
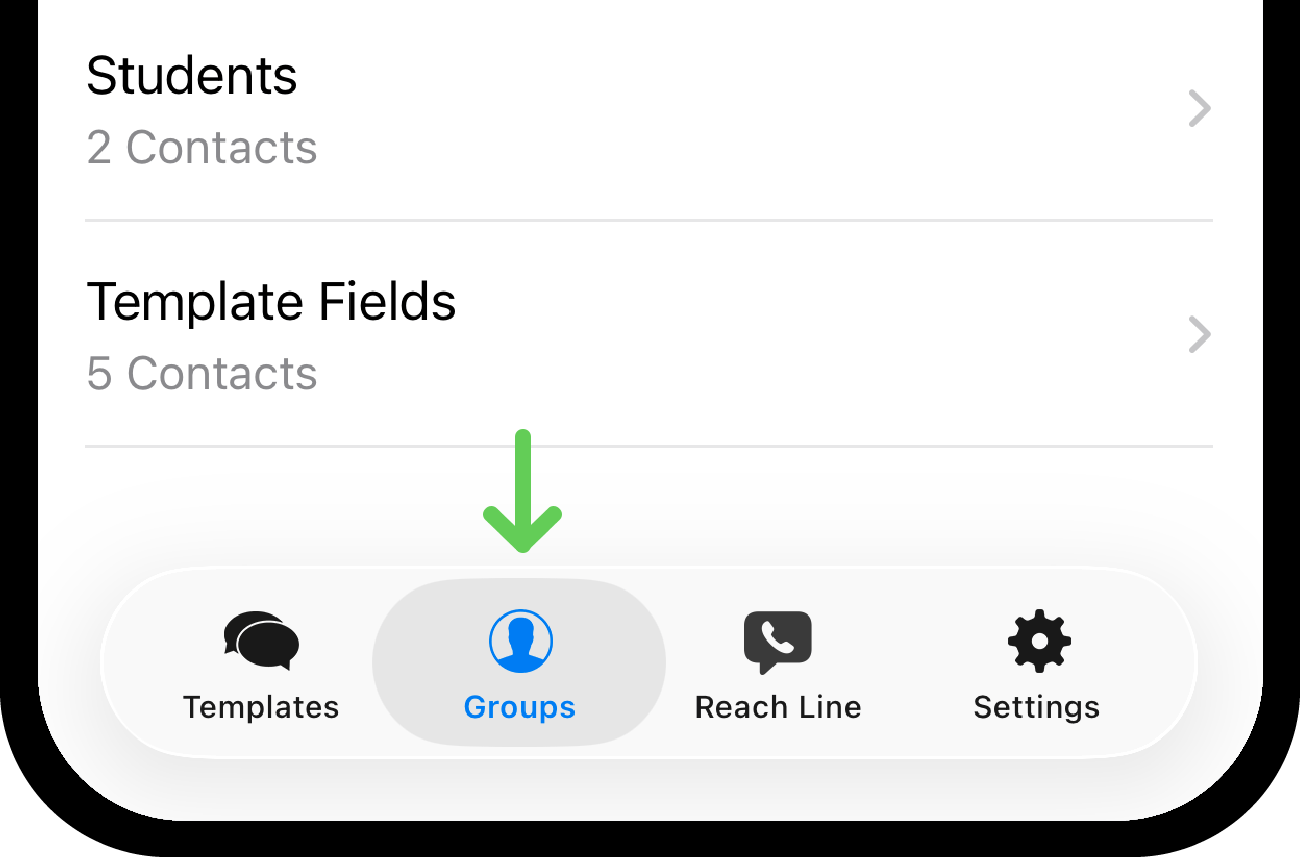
2. Tap the group you want to edit.
Option A: Update one contact
To edit only one contact, tap the contact to open their contact page. Then go to the Step 5.
Option B: Update all or multiple contacts in a group
To edit all contacts in the group at once, tap "Edit" at the bottom center of the screen.

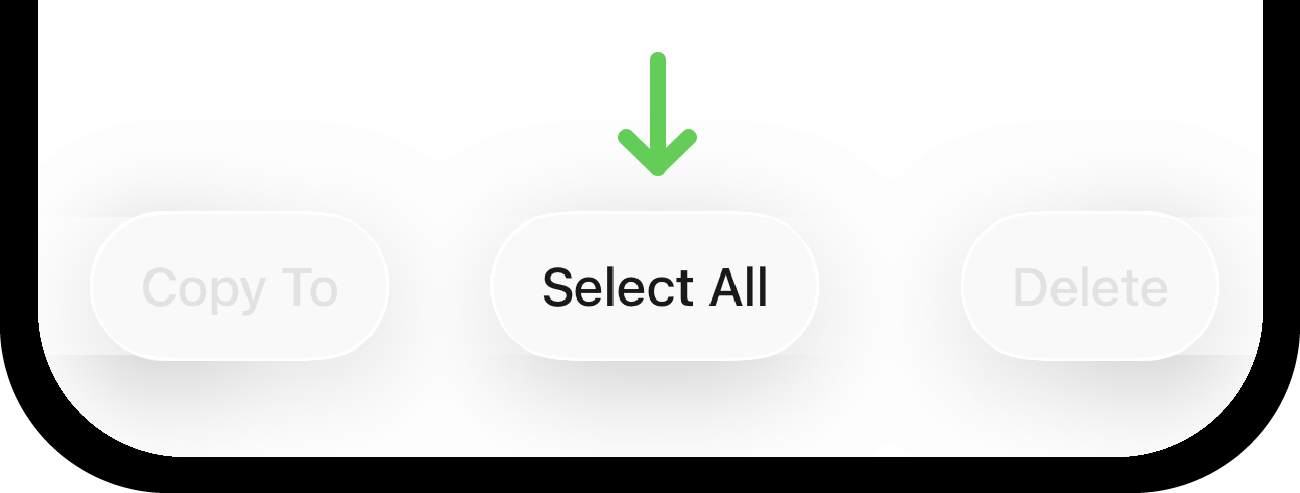
3. Then tap "Select All", also at the bottom center.
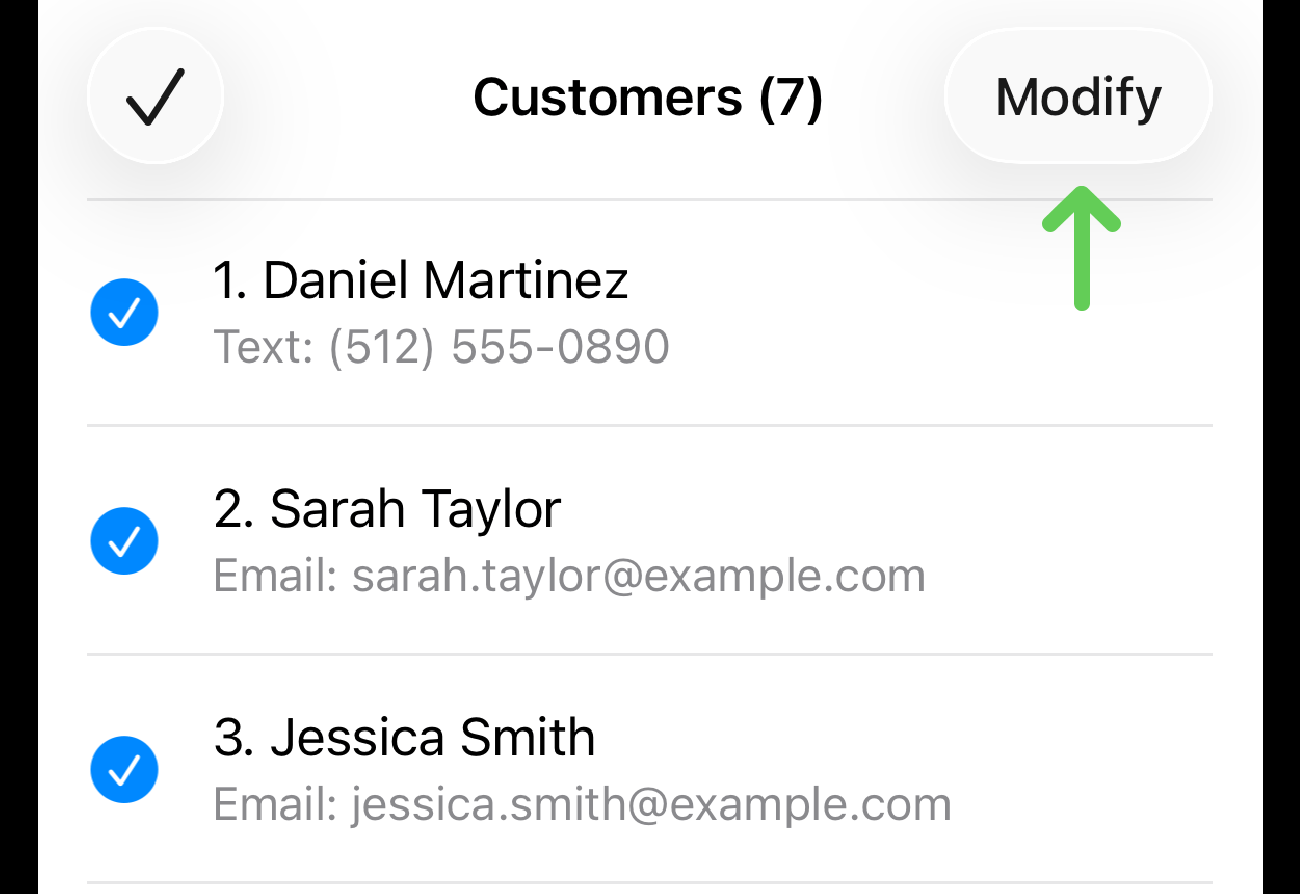
4. Tap "Modify" in the top-right corner.
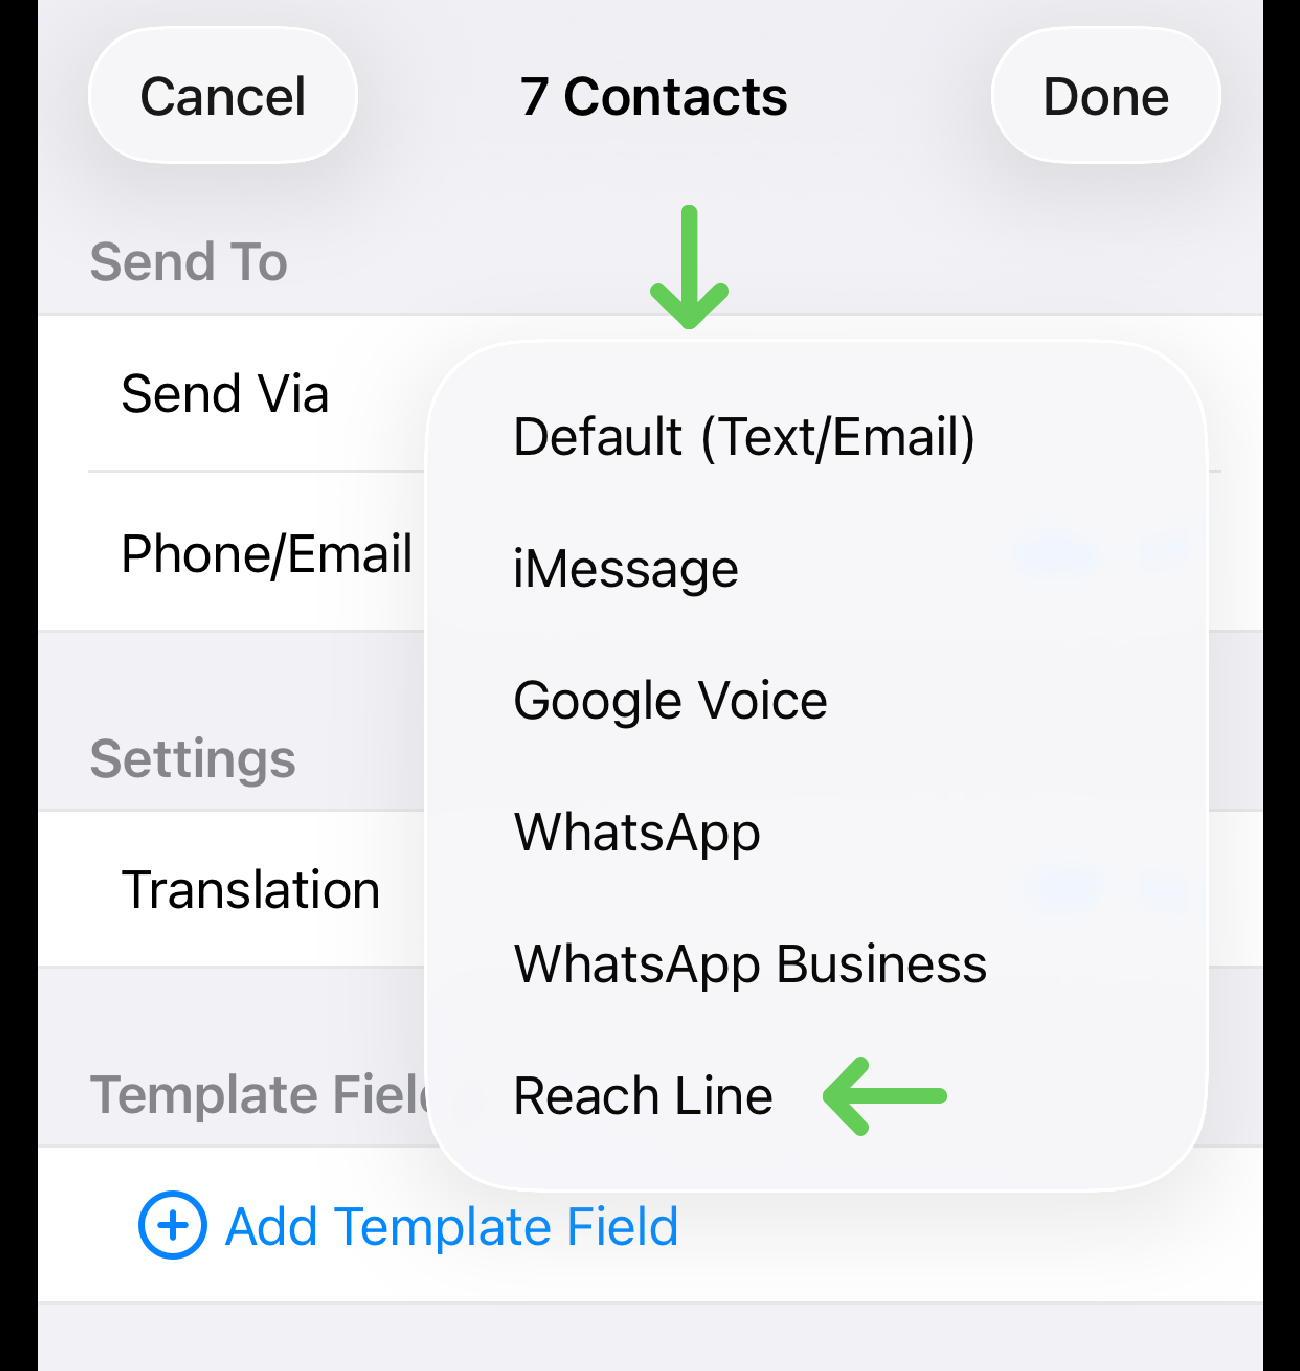
5. In the "Send Via" section, open the dropdown menu and select "Reach Line".
6. Tap "Done" in the top-right corner.
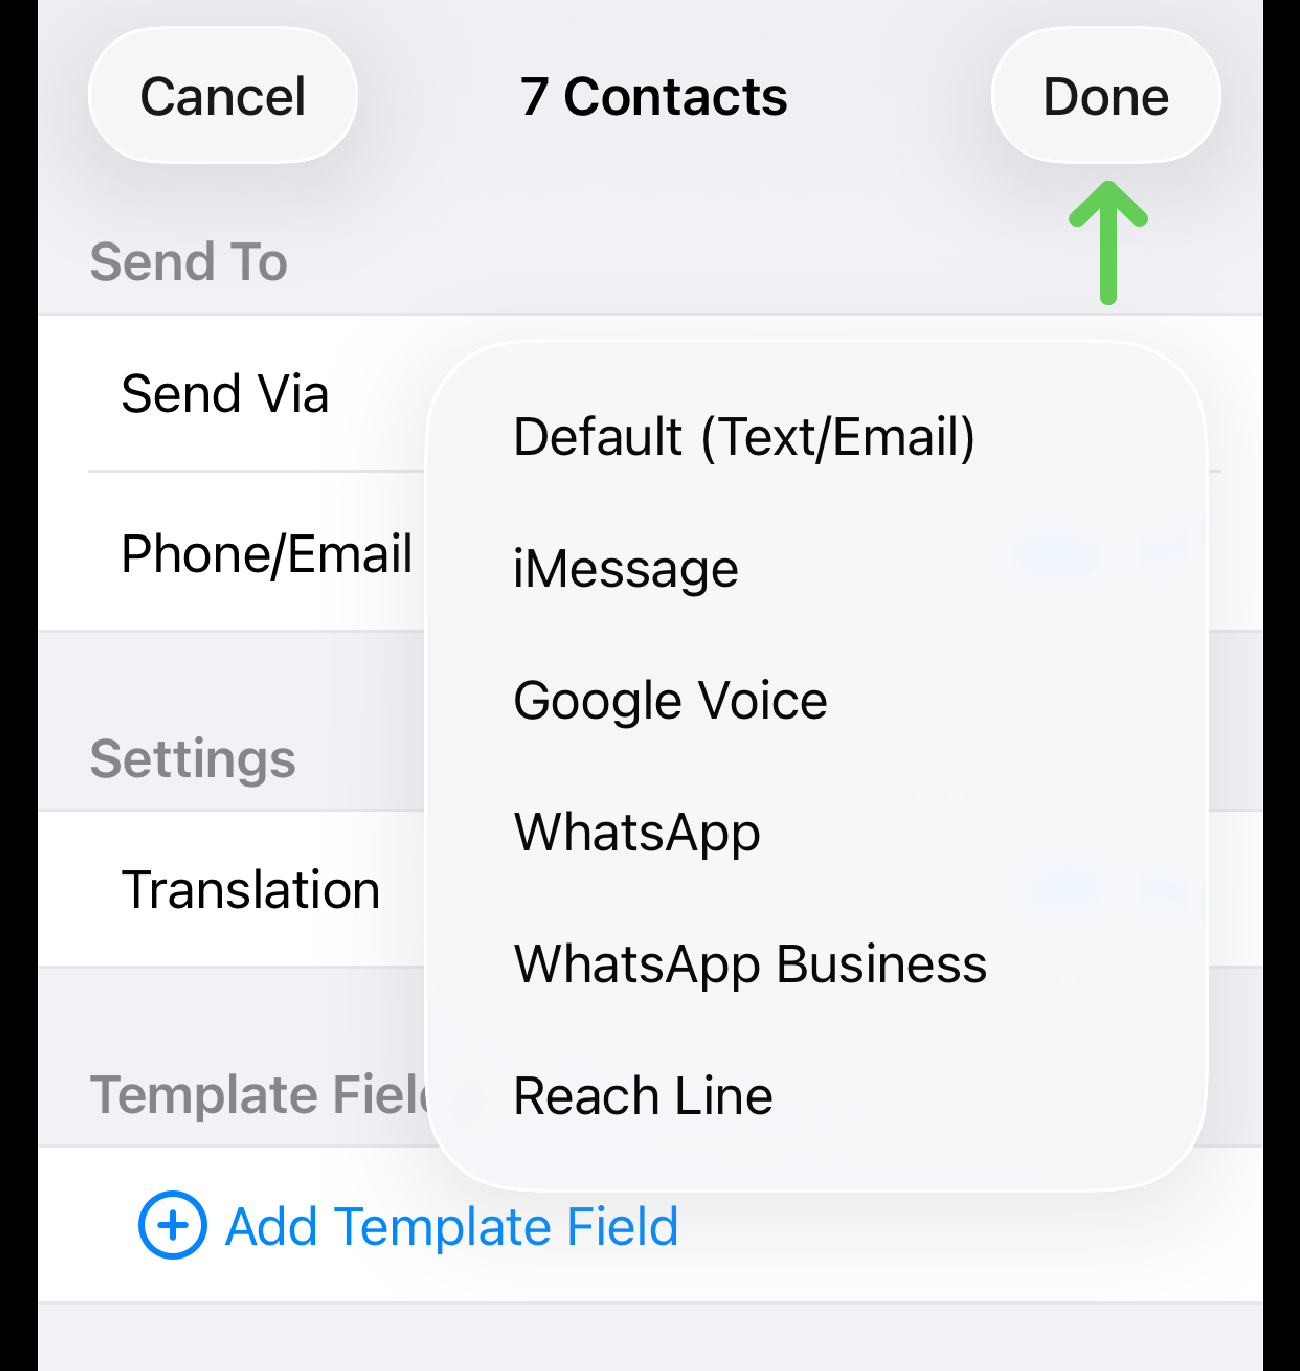
The "Send Via" setting has been updated for the selected contacts.
Start Sending Messages
Once the Send Via setting is updated, go to the Templates tab and send your messages as usual. Messages to these contacts will now be sent through Reach Line.
For detailed instructions, see the Send Template article.
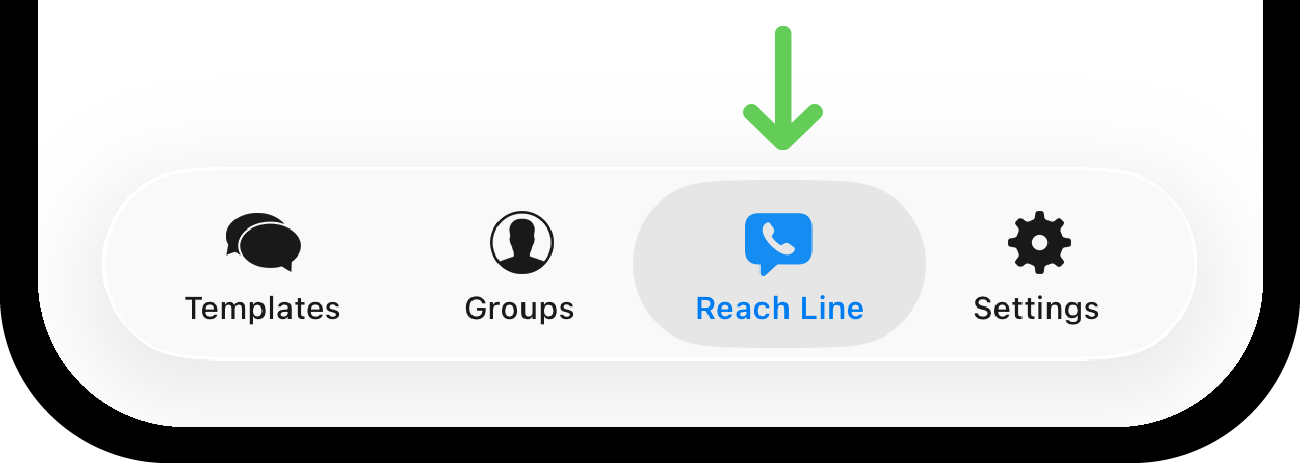
After you send your first messages, they will appear in the Reach Line tab. You can open any message there and continue messaging with a specific contact.