Cloud Backups
Overview
Cloud backups are essential if all or part of the data in the Reach application is lost or deleted. All backups are stored in your iCloud. You can create a manual backup or enable automatic backups. It is possible to carefully restore data from any available backup copy.
Follow the steps below to set up and manage cloud backups in the Reach application.
1. Activate Cloud Backups on Your Device
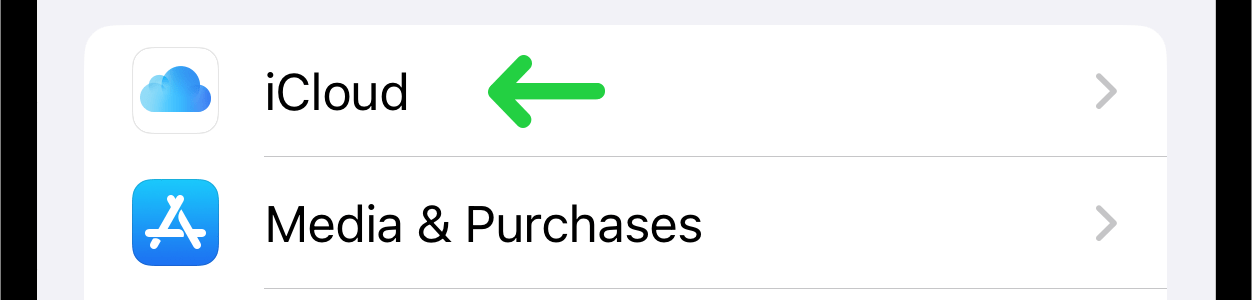
Before you can use the backup process it is important to enable it on your iPhone. Go to the iPhone Settings. Tap on AppleID, select iCloud.
In the “Apps Using iCloud” section tap “Show All".

Ensure Reach is switched to ON.

Now be sure iCloud Drive is turned on.
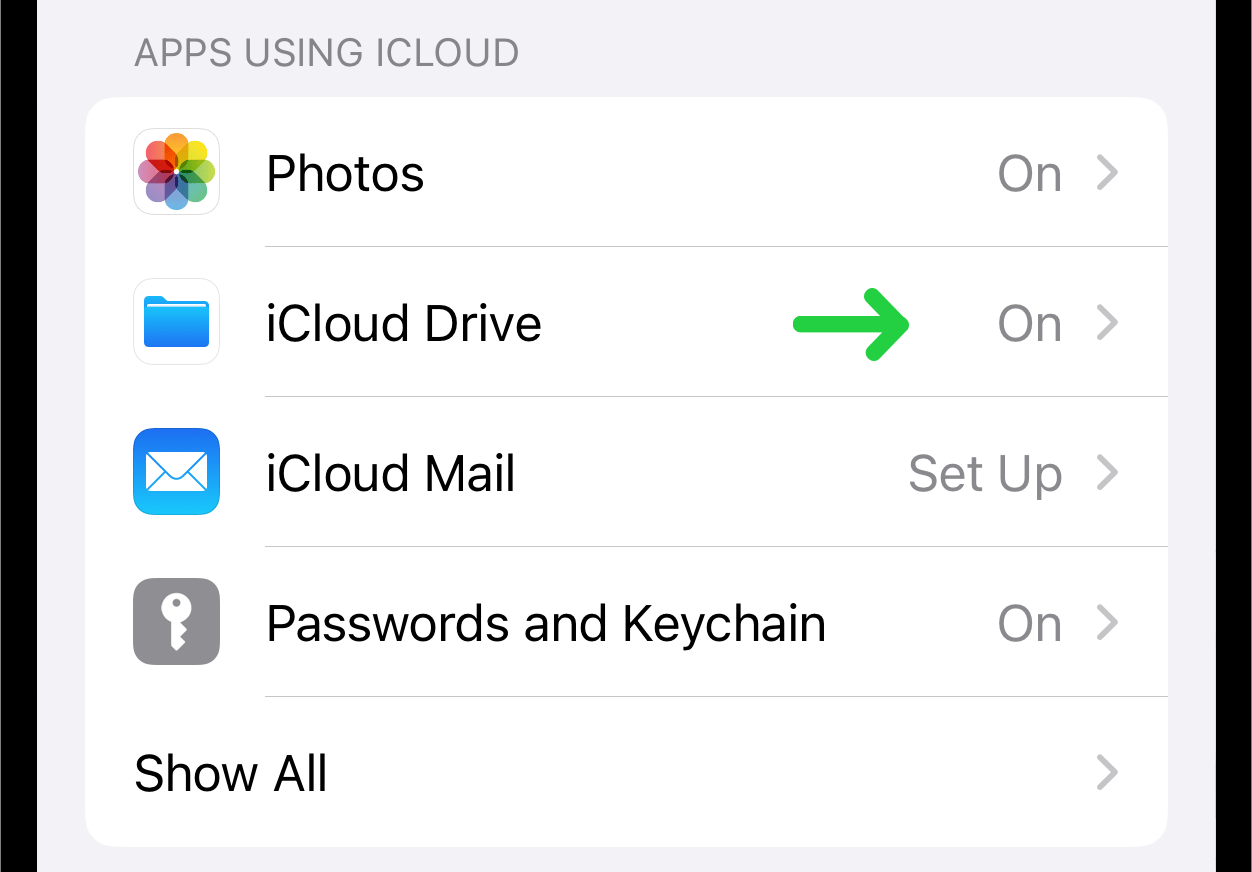
Tap iCloud Drive. Select “Apps Syncing to iCloud Drive”.

Ensure that REACH is enabled.
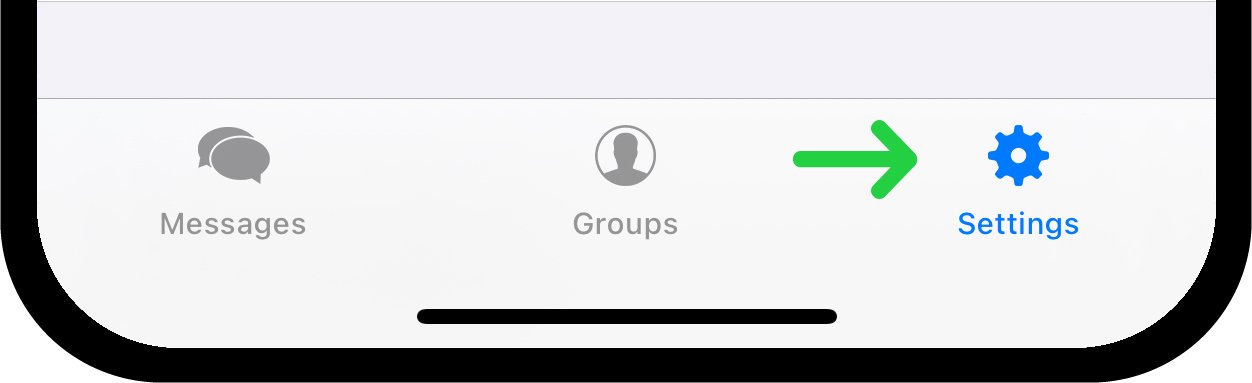
2. Return to Reach and Navigate to Reach Settings
Tap on the Settings icon located on the toolbar at the bottom of the screen.
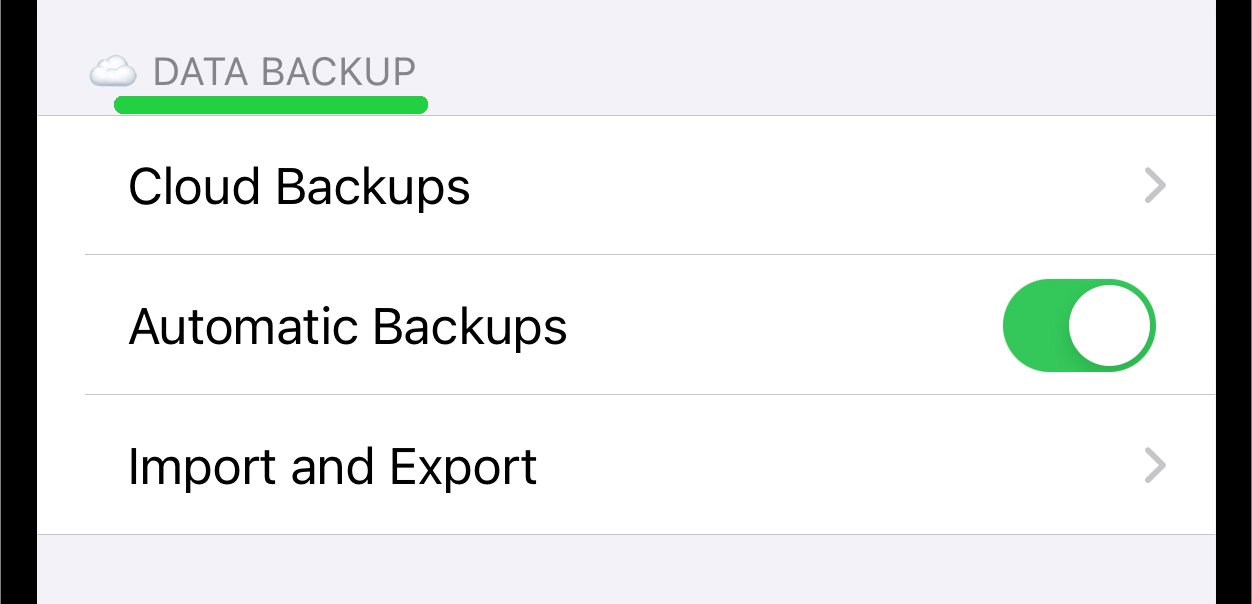
3. Find Data Backup Section
In the settings menu, scroll through the list to find "Data Backup".
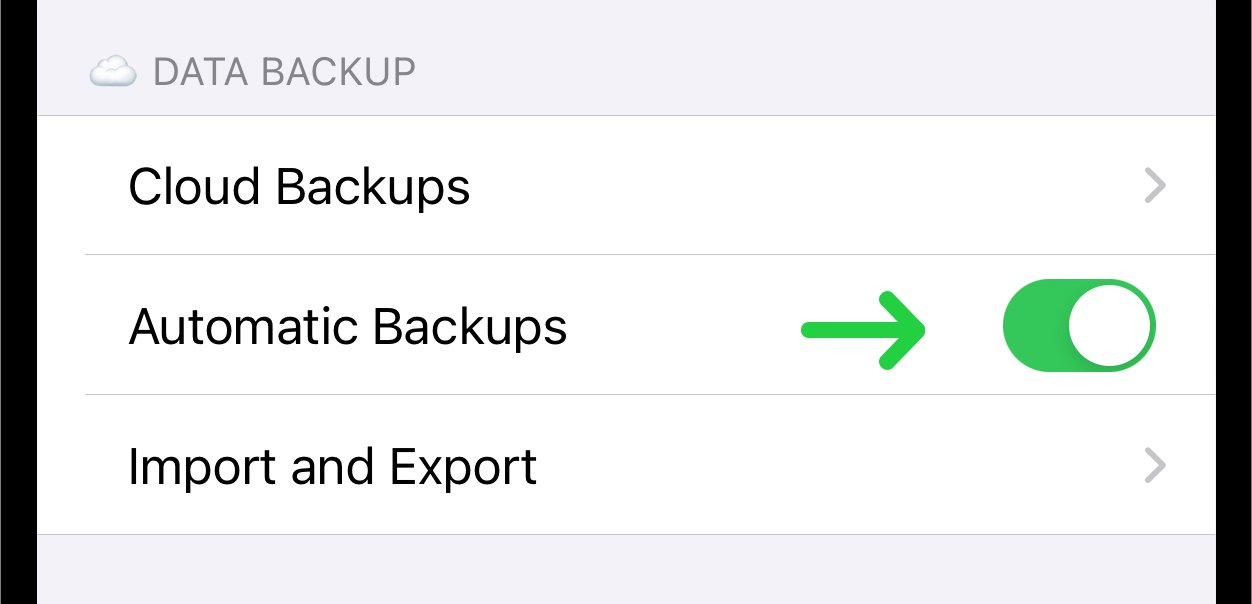
4. Enable Automatic Backups
Ensure that the "Automatic Backups" feature is enabled. Switch it on, if the toggle is disabled.
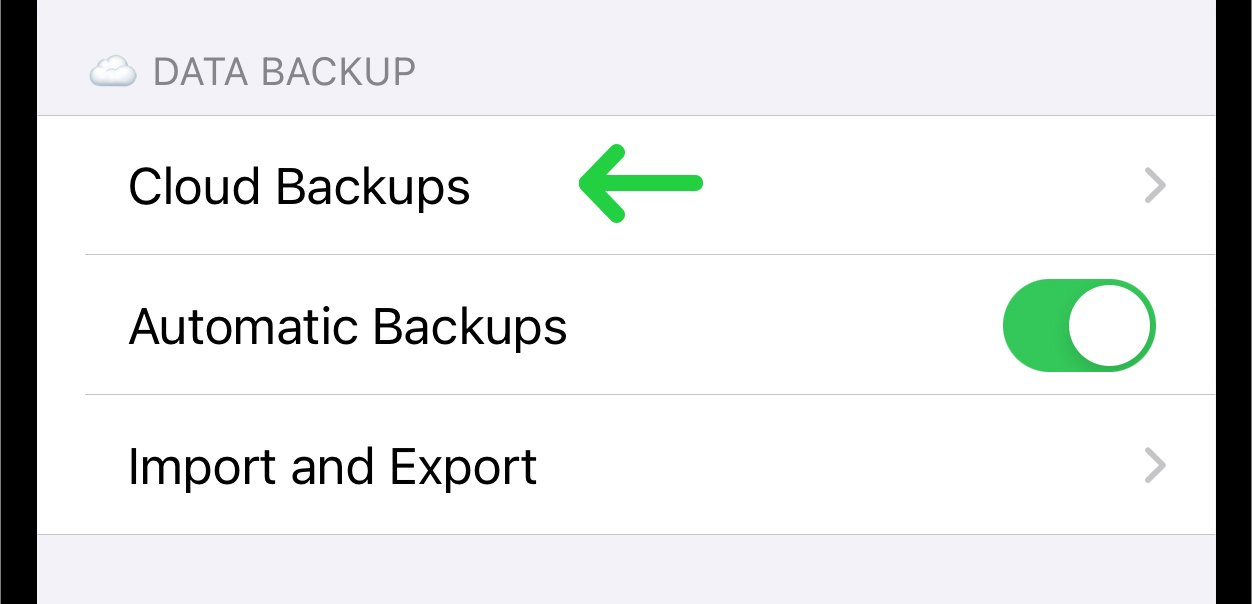
5. Access Backup List
Tap "Cloud Backups" to open the page with list of available backups.
6. Restore from a Backup
On the backup list page, browse through the available backups.
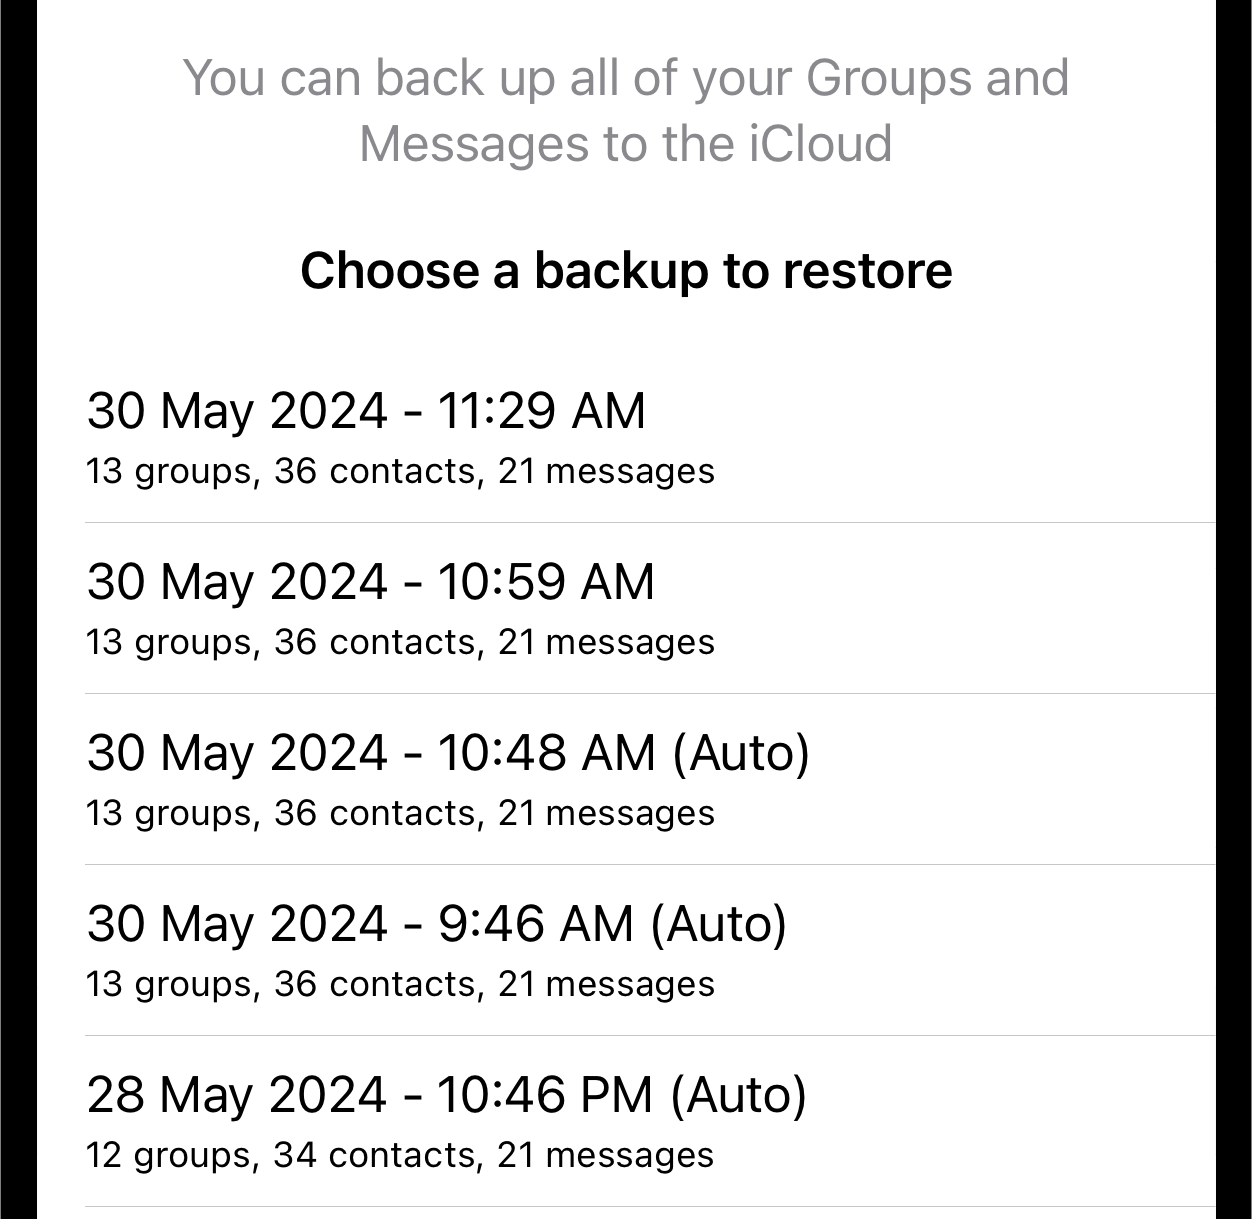
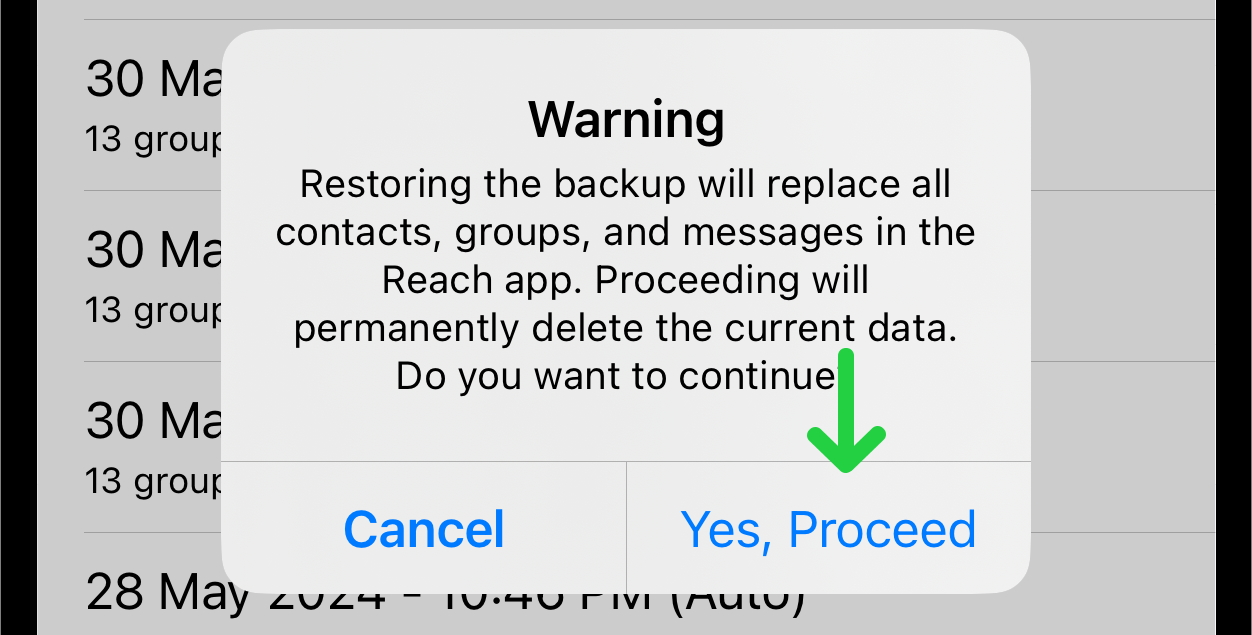
Select a backup from the list to restore all data. Note that restoring from an older backup may result in the loss of more recent data. Proceed with caution when selecting a backup.
In the popup tap Yes, Proceed button if you are sure you want to overwrite or restore your backup data.
7. Create a Manual Backup
Tap "Back Up Now" at the bottom of the backup list page to create an immediate backup of your current data. The new backup will appear at the top of the backup list immediately after clicking this button.

If no backups are listed on the backup page, this indicates that the automatic backups feature is not enabled. Return to the "Settings" page. Switch the toggle next to "Automatic Backups" in the active position.
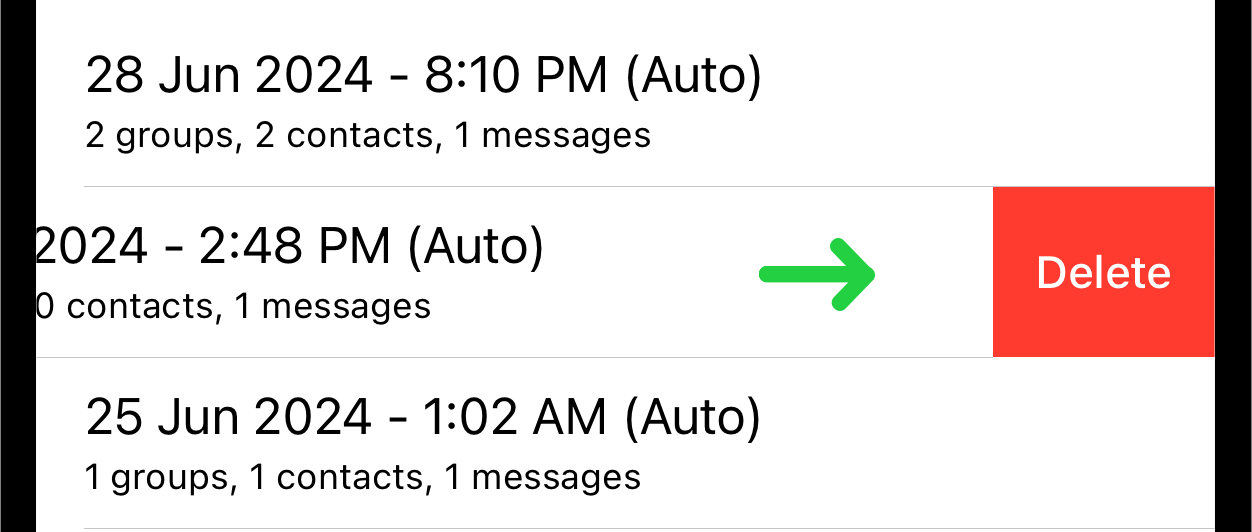
8. Remove Old Backups
On the backup list page, browse through the available backups. If you wish to delete a backup slide it to the left until the red “Delete” button appears. Tap “Delete” to remove the backup from your iCloud.