Send Template
Overview
The article explains how to send templates using the Reach app for iOS. It covers composing a message template, selecting recipients, personalizing the message template, and sending it. This guide helps you efficiently manage and send templates to one or multiple contacts.
1. Template Composition
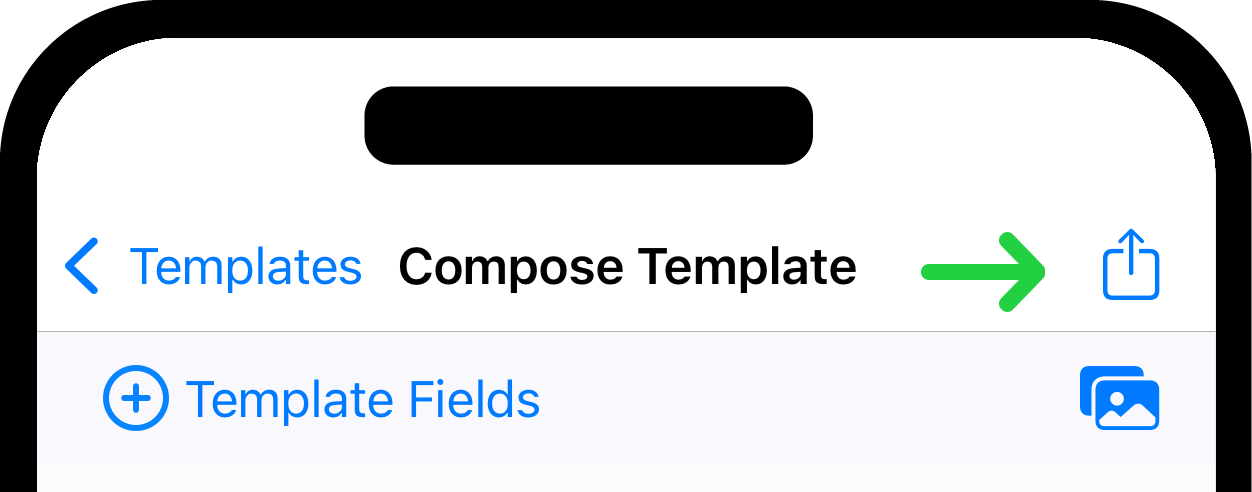
You can read about how to compose a template in Compose New Template. Make sure you are on the template editing page. On this page, you need to press the send template button located in the top right corner.
2. Select the Recipient Group (If you have more than one group)
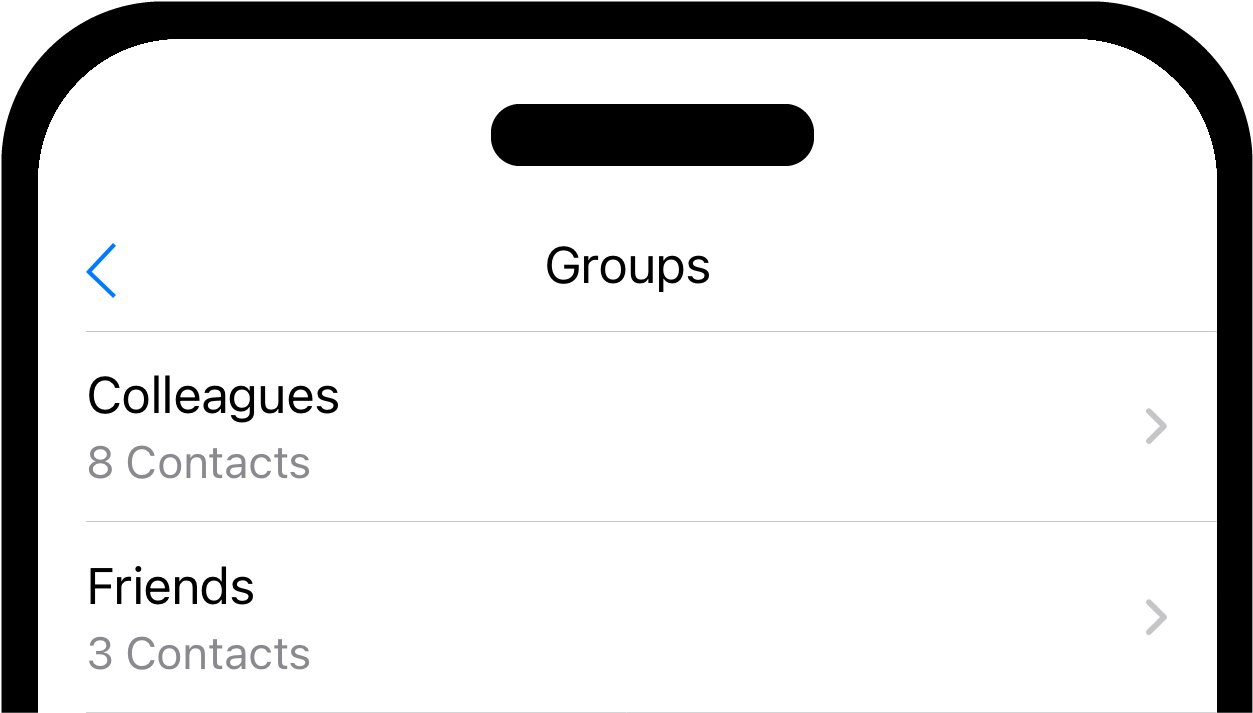
Clicking the send template button takes you to a list of groups. Look through it to pick the group you want to message. A tap on the group name will take you to list of contacts.
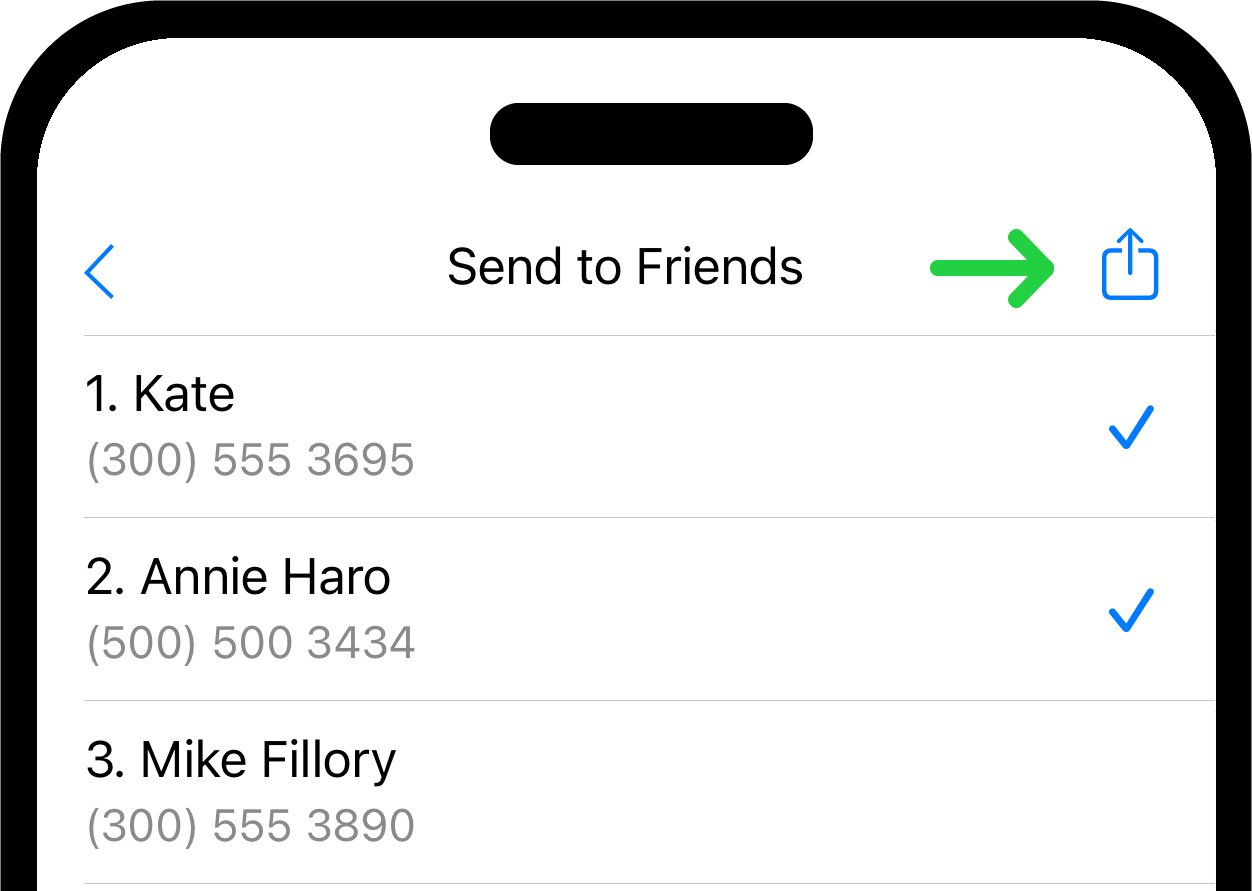
3. Choose the Template Recipients
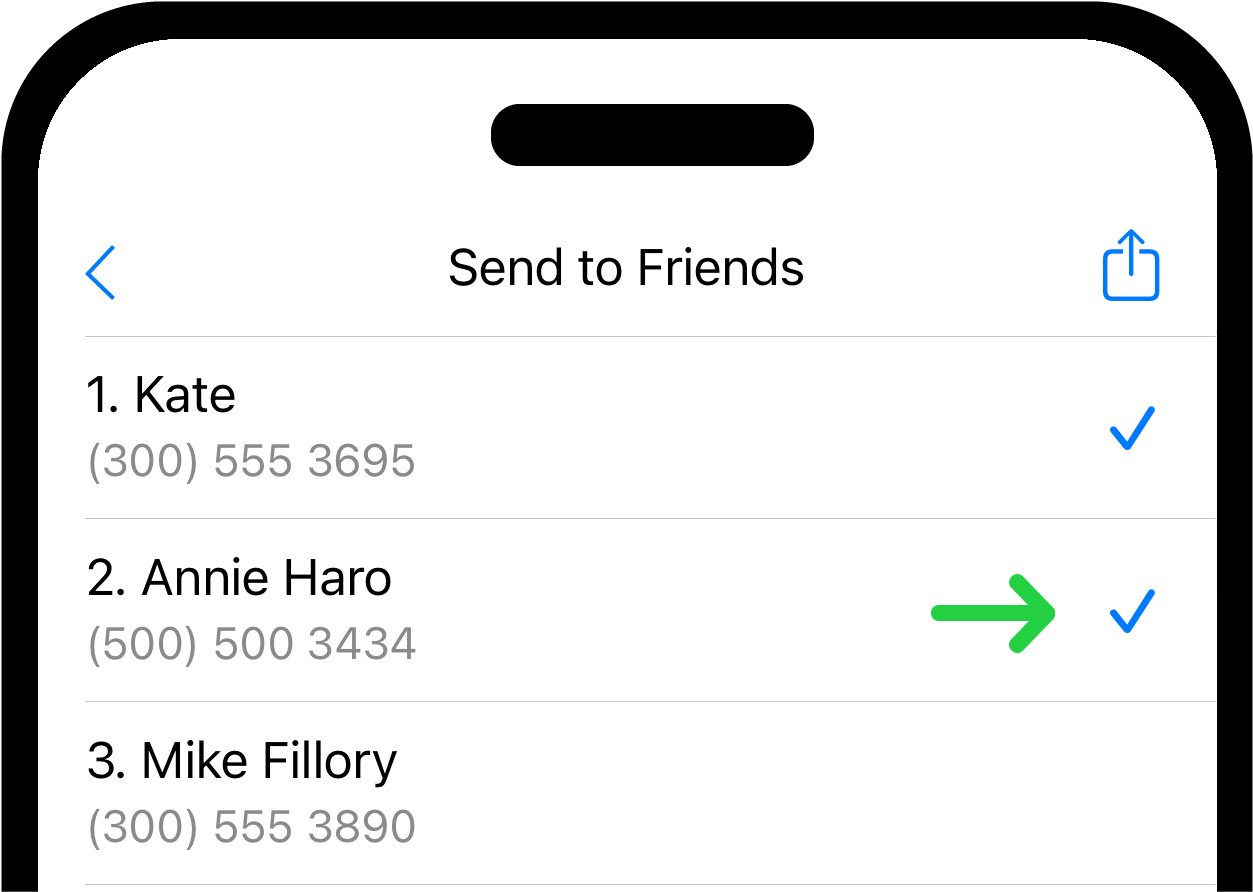
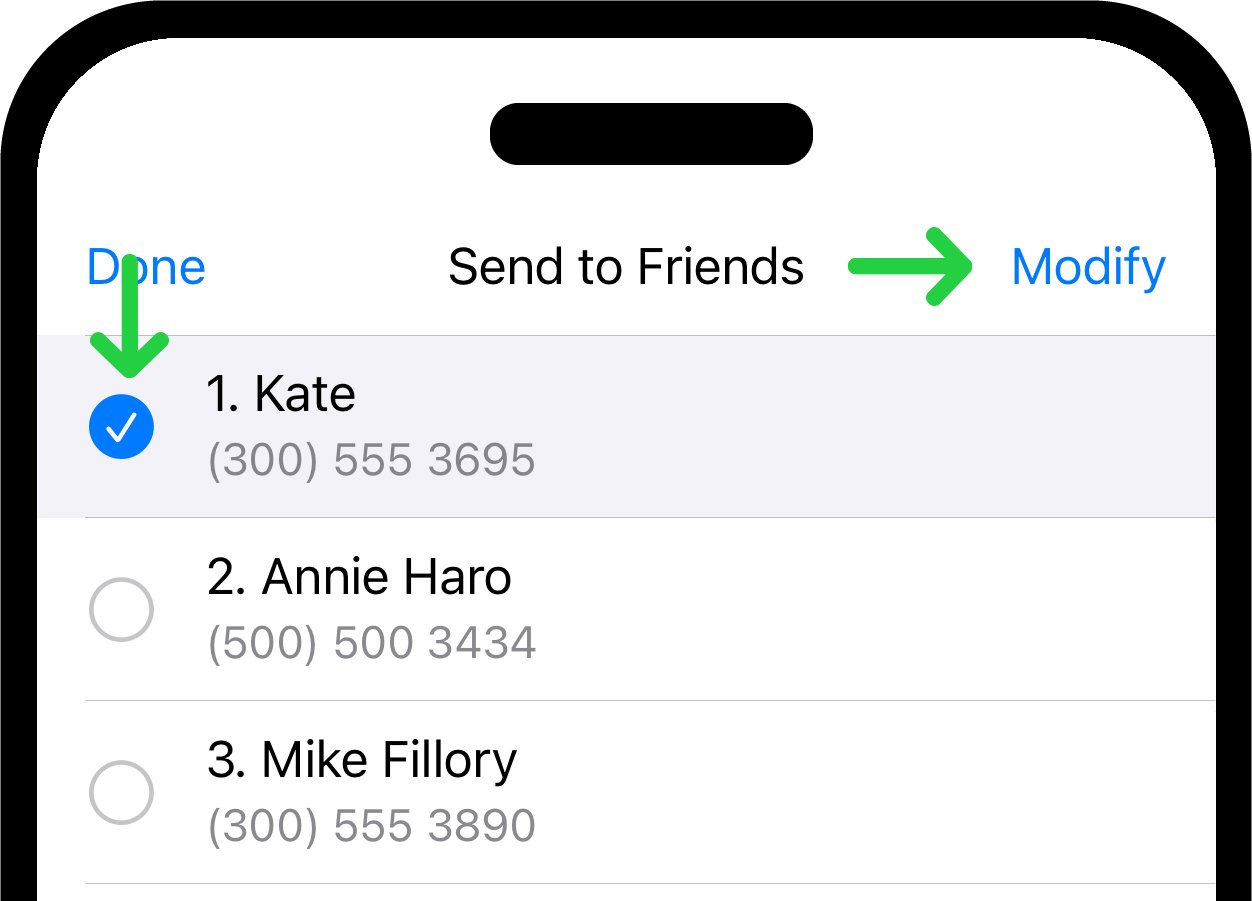
Each contact next to their name has a checkbox, automatically checked, indicating that they are selected as recipients of your template by default. If you deselect any checkboxes, your choices will be saved for future template sendings.
At the bottom of the contact list page, you can utilize the toolbar functionality.
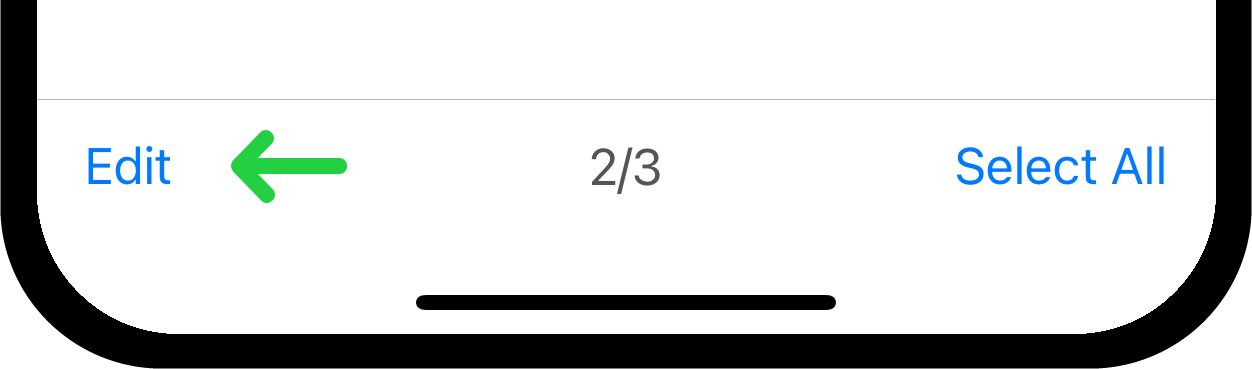
On the left, there's an Edit button. You can click on this button to select contacts from the list for editing. Mark contact you want to edit, then, press the Modify button, and the contact editing page will open. Here, you can change the communication method, phone number, email, or other details. The changes you make will be available immediately during the sending process.
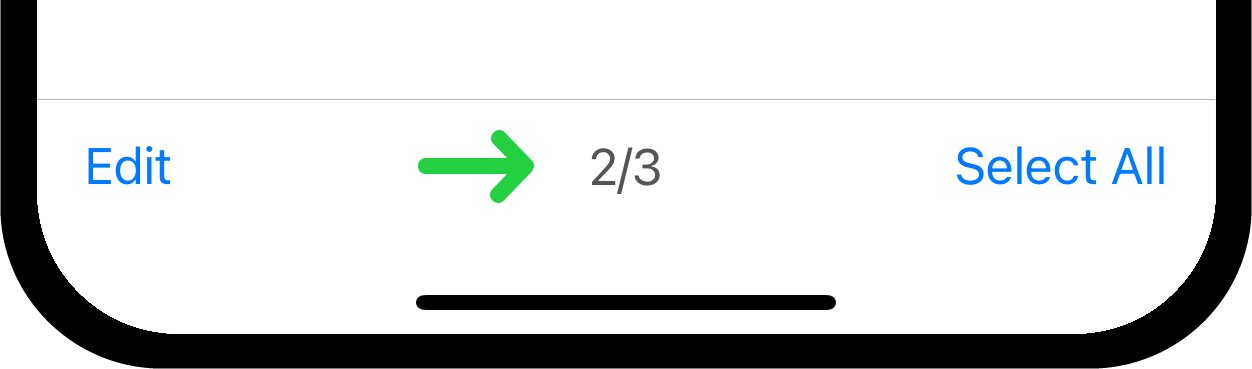
In the center of the toolbar, there's information about the number of selected contacts.
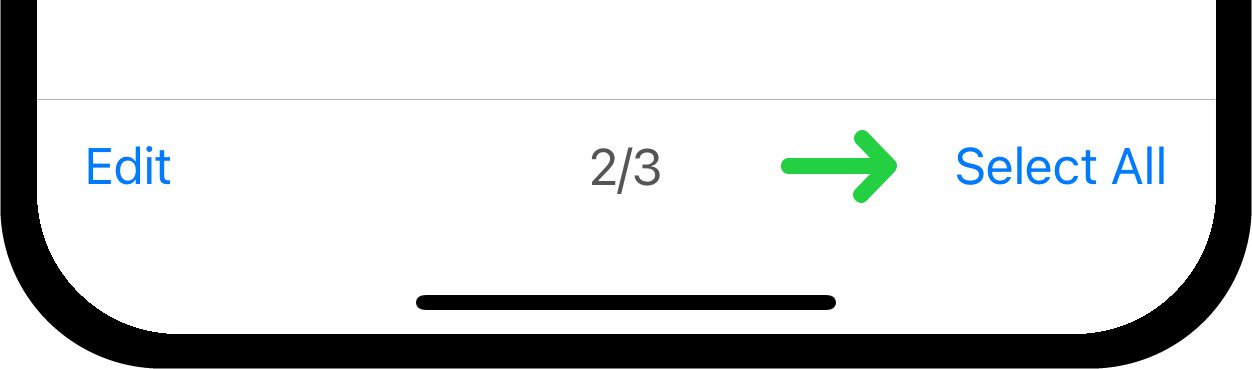
On the right, there's a Select All button which, when clicked, will select all contacts in the current group.
4. Sending the Message Template
After finalizing your recipient list and composing your template, locate the send button in the top right corner once more. Click on this button to dispatch your template.
Depending on the communication method you have chosen (e.g., in-app messaging or email), the message will be sent through the respective sender.
If the Fully Automatic Sending mode is not enabled, you have to manually confirm the sending of each message by clicking on the send message button.
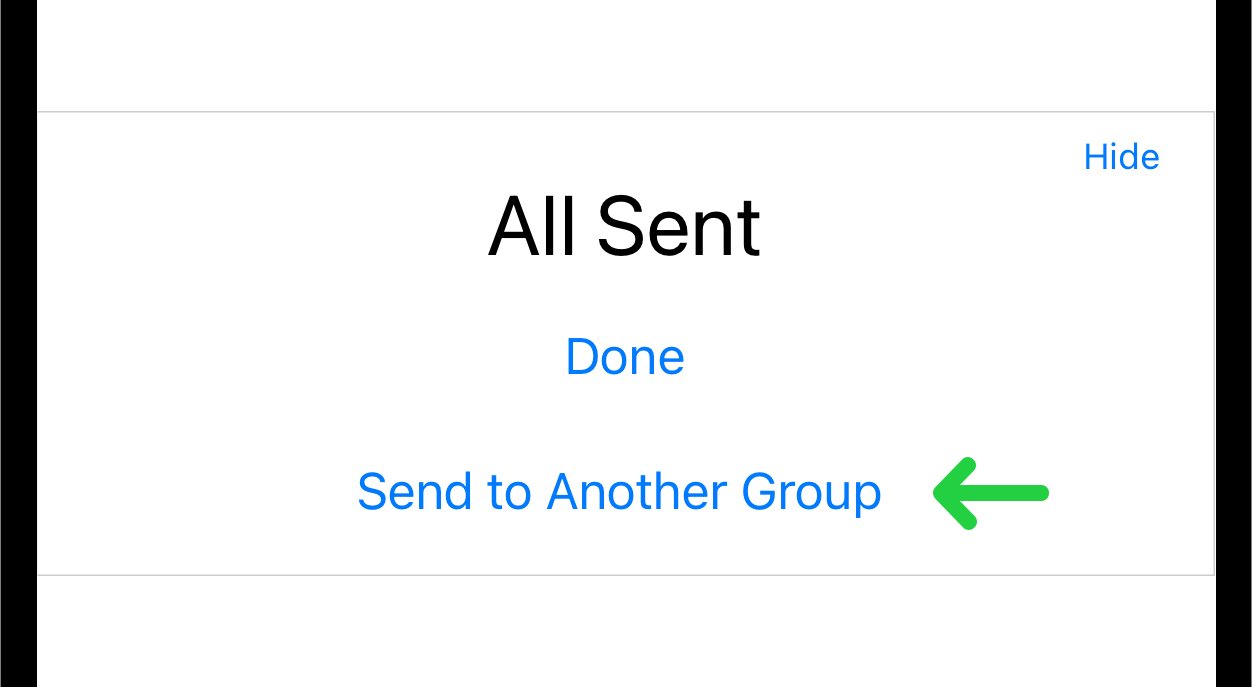
After the sending process is complete, a message saying "All Sent" will appear if the messages were sent without any errors.

Tap "Done" to complete sending.
In case of any sending errors, the message with the error will appear on your screen. Please, try to send the messages once more.
Send to Another Group. If you want to send the same template again, tap the "Send to Another Group" button. This button will only appear if you have more than one group. Then, select the desired group for sending and tap the send button in the top right corner.