Prepare CSV File for Importing Contacts and Groups
To successfully import your data into Reach, you need to adhere to the required data format in CSV files. There are two methods to create the required CSV file: using the Reach application or creating the CSV file from scratch on the computer.
You can download a CSV file with a preformatted structure consisting of three columns: First, Last, and Address. Simply add the necessary data. If you prefer to create the file yourself and customize it to your needs, read more about it in the article below.
Method 1: Creating a CSV File from Scratch
Let's create a CSV file from scratch on your computer. Go to Google Docs and tap "Blank spreadsheet" to create a new CSV file.
The file can contain the following columns: first, last, nickname, relationship, address, via, translation, and template name.
These columns correspond to the fields available on the contact editing page in the Reach application and are described in detail in Edit Contact.
- First: First name of the contact.
- Last: Last name of the contact.
- Nickname: Nickname of the contact.
- Relationship: Relationship of the contact to you or the group.
- Address (*mandatory): Email address or phone number of the contact.
- Via: The method of contact (text, imessage, email, gvoice, whatsapp, whatsapp-business).
- Translation: Enable translation to other languages.
- Template Name: If any of the exported contacts have a template field, this parameter will also appear as the column in the CSV file with the specified template name. You can manually add a column of a template to your CSV file. Ensure the template column name does not duplicate any other column names listed above.
Please, note that the CSV file must contain the column address for the successful import.
The CSV file must be in .csv format. To save the file go to "File". Click "Download" and choose "Comma Separated Values".
It can be created this way:
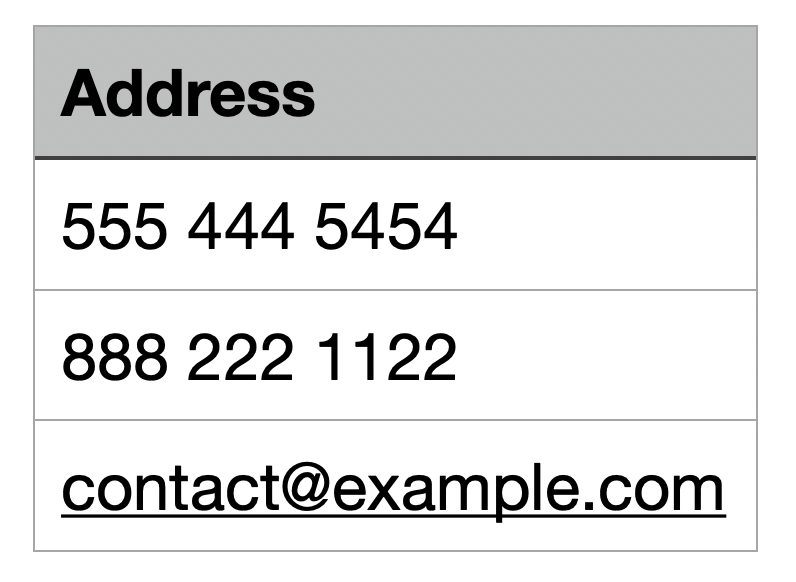
In this case, after importing, you will have three contacts with the specified phone numbers and email address.
It also can be created with all described columns above. Here is an example of how your CSV file can look:

In our case, the template column is the "Location". Only the mandatory "Address" column needs to be filled. All other columns can be left empty.
After creating or editing the CSV file, save it in the CSV format (.csv). You can then import this file into the Reach application to update or create groups.
Method 2: Exporting CSV from Reach Application
The second way to get a CSV file for importing groups and contacts is to use the Reach application.
- Open the Group with Contacts.
- Export the Group with Contacts to CSV and save the file to your device. Read Export Contacts To CSV File to find instructions on how to do it.
- Transfer the exported CSV file to the PC or Mac.
This method allows you to get the required CSV file with certain columns for further editing. After creating or editing the CSV file, save it in the CSV format (.csv). You can then import this file into the Reach application to update or create groups.