Manage Groups
Overview
After creating multiple groups, you might need to sort, organize, or modify them. The "Edit Groups" allows you to easily manage these changes.
1. Edit Mode
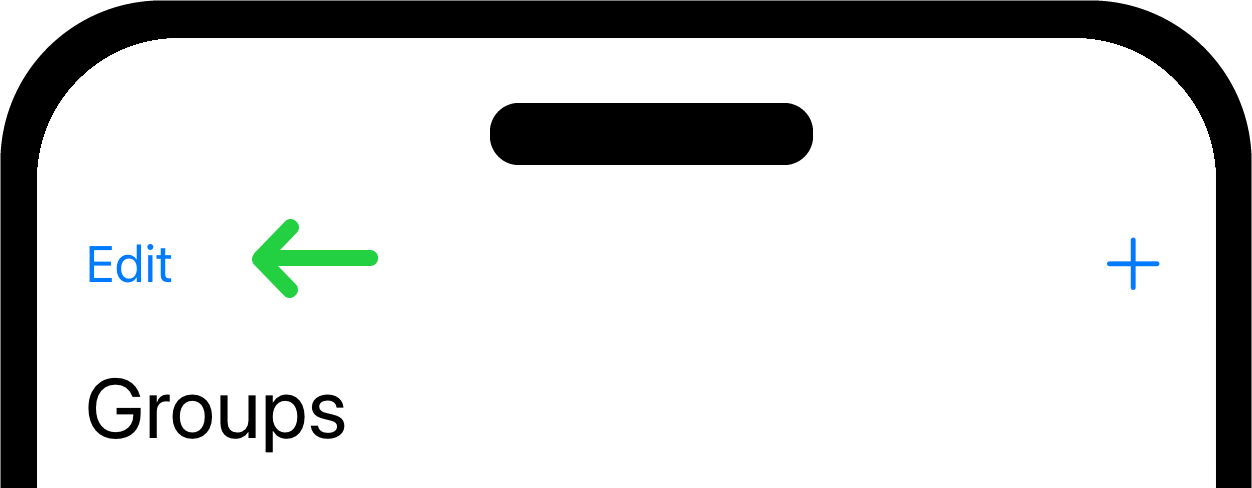
When you navigate to the "Groups", you will see a list of all the groups you have created.

Tap the "Edit" button located in the top left corner of the screen.
2. Select Groups
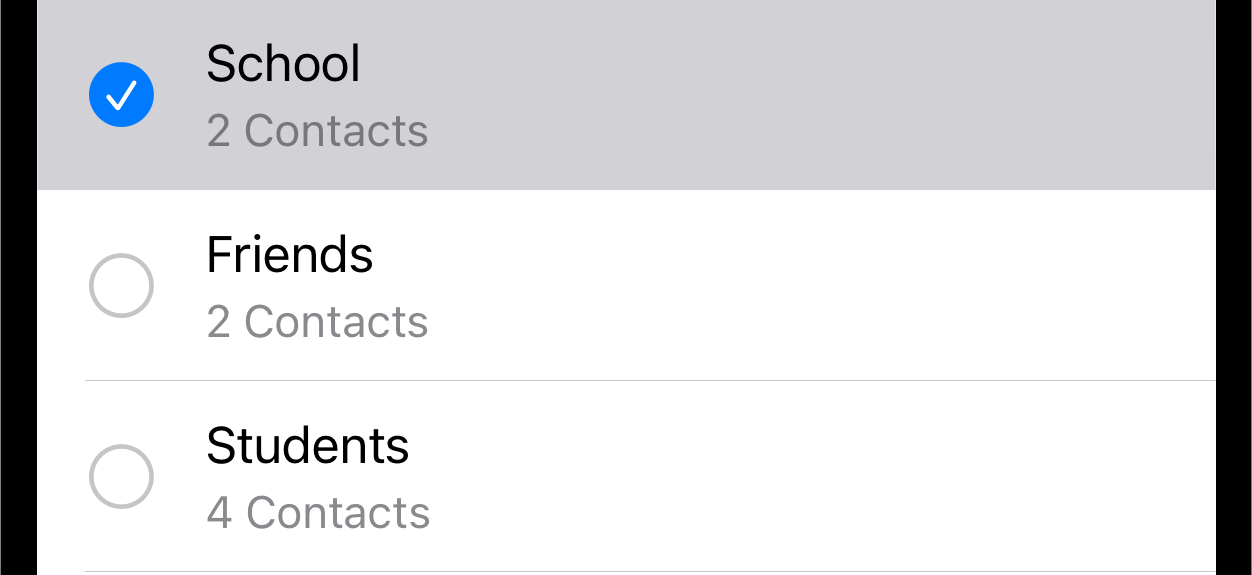
- Individual Selection: You can select individual groups by tapping the name of each group. This allows for the selection of one or multiple groups.
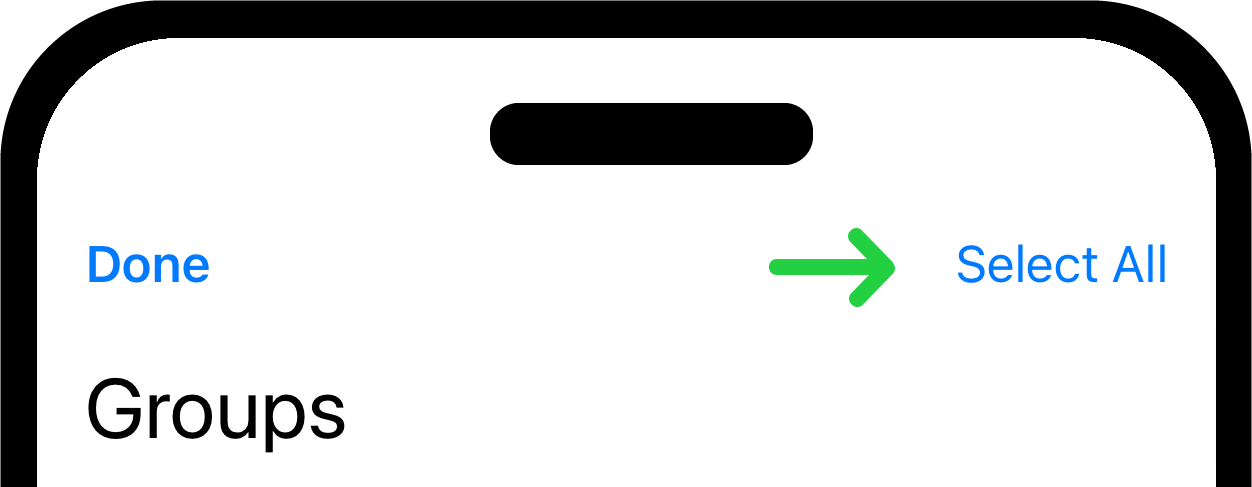
- Select All: The "Select All" button will appear in the top right corner. Tapping this button will select all groups in the list.
3. Manage Options
A toolbar will appear at the bottom of the screen with three options once you have activated edit mode and selected one or more groups:

Rename: This option lets you rename the selected group.
- This is very useful if you are sorting groups alphabetically. Unused groups can be renamed to “z-group” to push them to the bottom of the list if you don’t want to delete them. You may also find that a group will be used for a different type of message and a new name would make better sense.
- Tap it, and a popup will open where you can type the new group name. Once you've entered the new name, tap the "Rename" button to finalize the change. The group will then be updated with the new name in the group list.

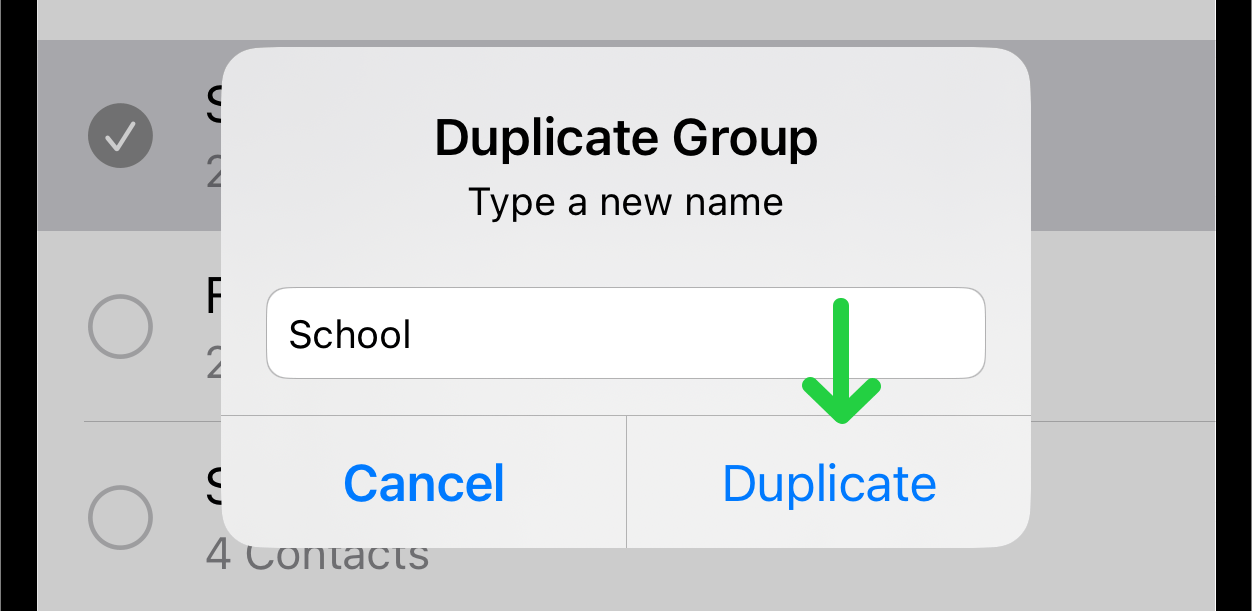
Duplicate: This option creates a duplicate of the selected group.
- It is often easier to make minor changes to a duplicated group than to create an entirely new group. Tap it, and a popup will appear where you can enter the new group name. After entering the name, tap the "Duplicate" button to complete the process. The duplicated group will appear in the group list.
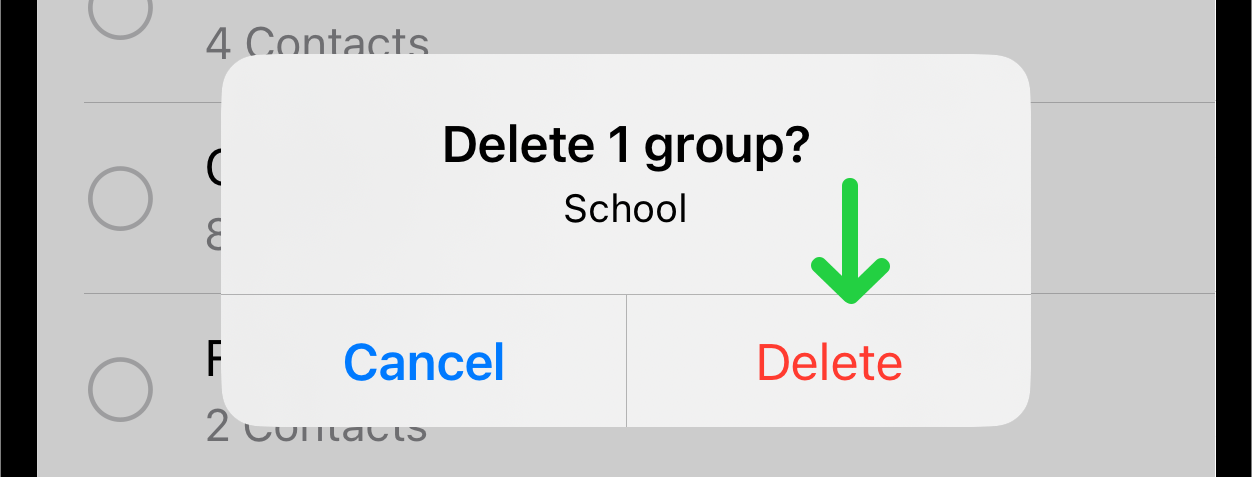
Delete: This option deletes the selected group(s). Tap the delete button if you want to delete the group or groups.
4. Exit Edit Mode
Tap the "Done" button in the upper left corner to exit edit mode.

These options enable you to efficiently manage your groups by renaming, duplicating, or deleting them as needed.