Android - Edit Contact
Overview
The Edit Contact page appears when you add a new contact to a group or edit an existing one by tapping on it. This page is split into three parts: Contact Details, Mass Text Options, Template Fields.
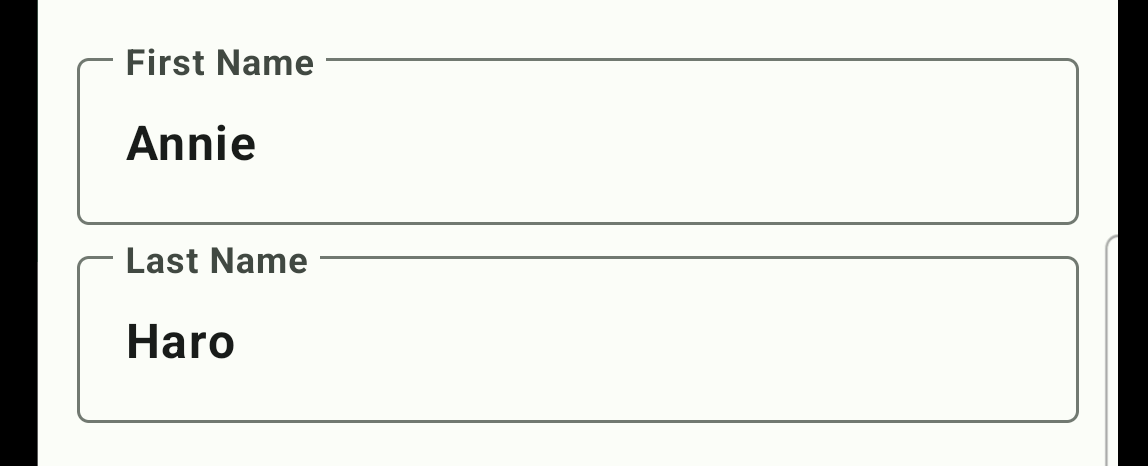
1. Contact Details
This section allows you to edit the contact's first name and last name.
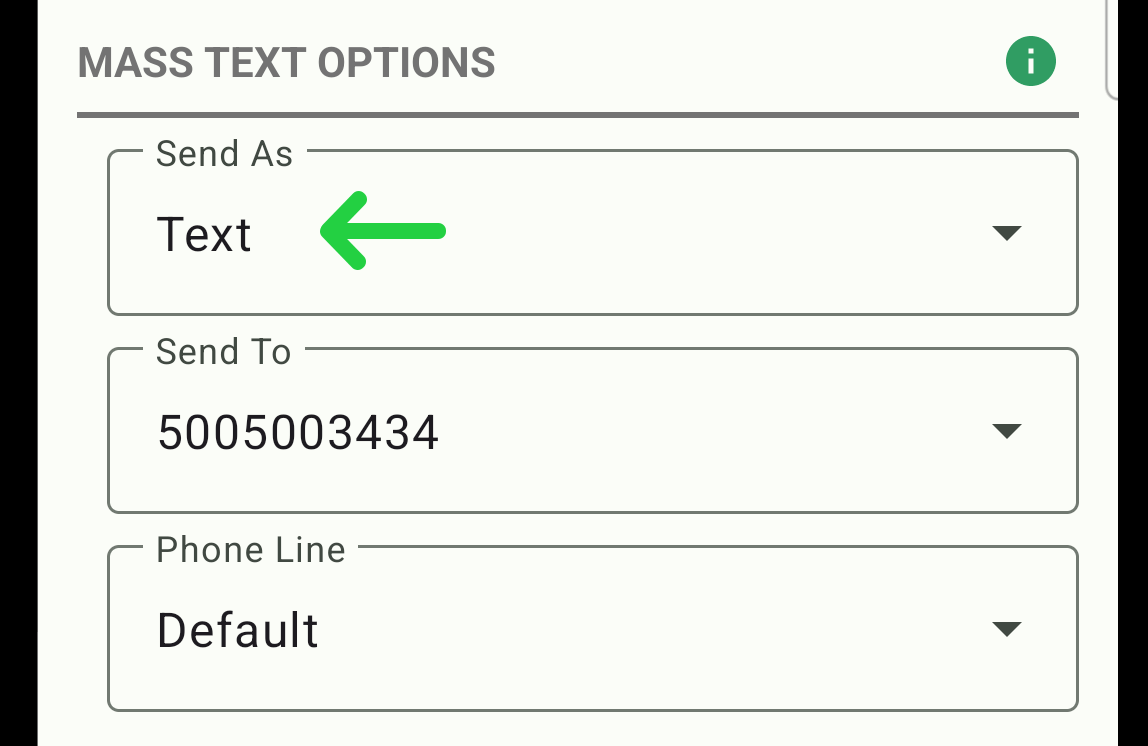
2. Mass Text Options
This section provides options for sending messages to the contact. It includes three dropdown menus:
- Send As: Choose the method of sending the message. Options might include Text, WhatsApp, WhatsApp Business, Google Voice, Email.
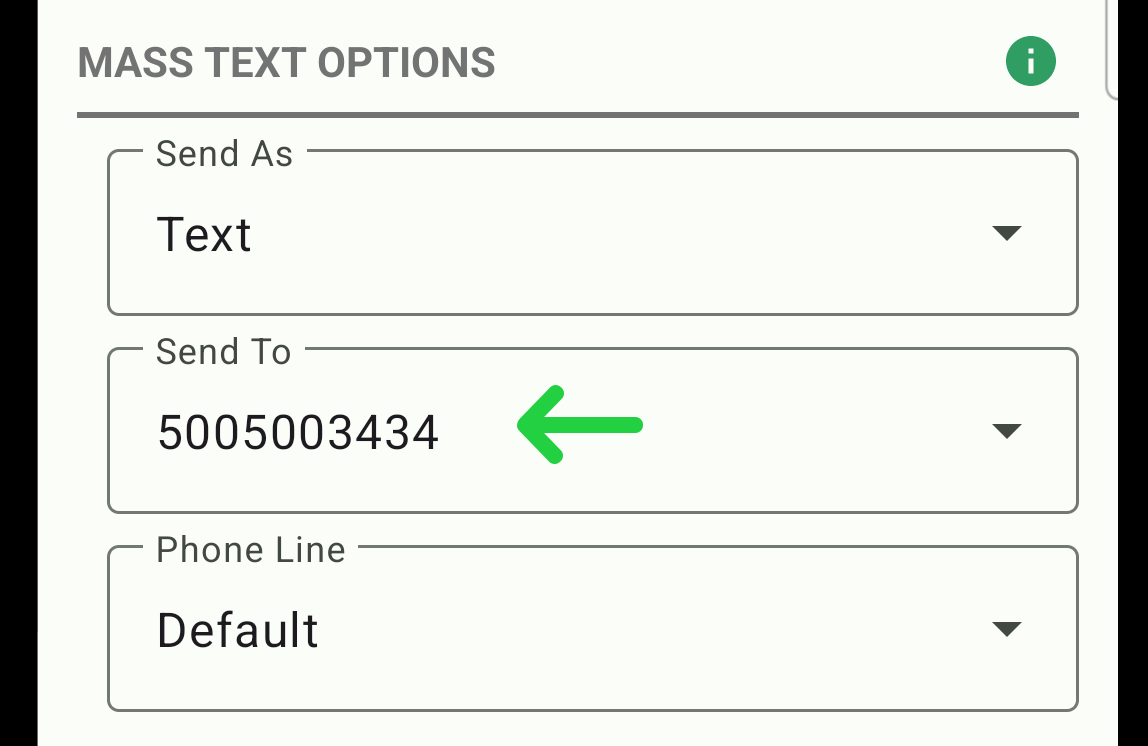
- Send To: Select the phone number or email address to which the message will be sent. If "Email" is chosen in the "Send As" dropdown, this menu will display all available email addresses for the contact.
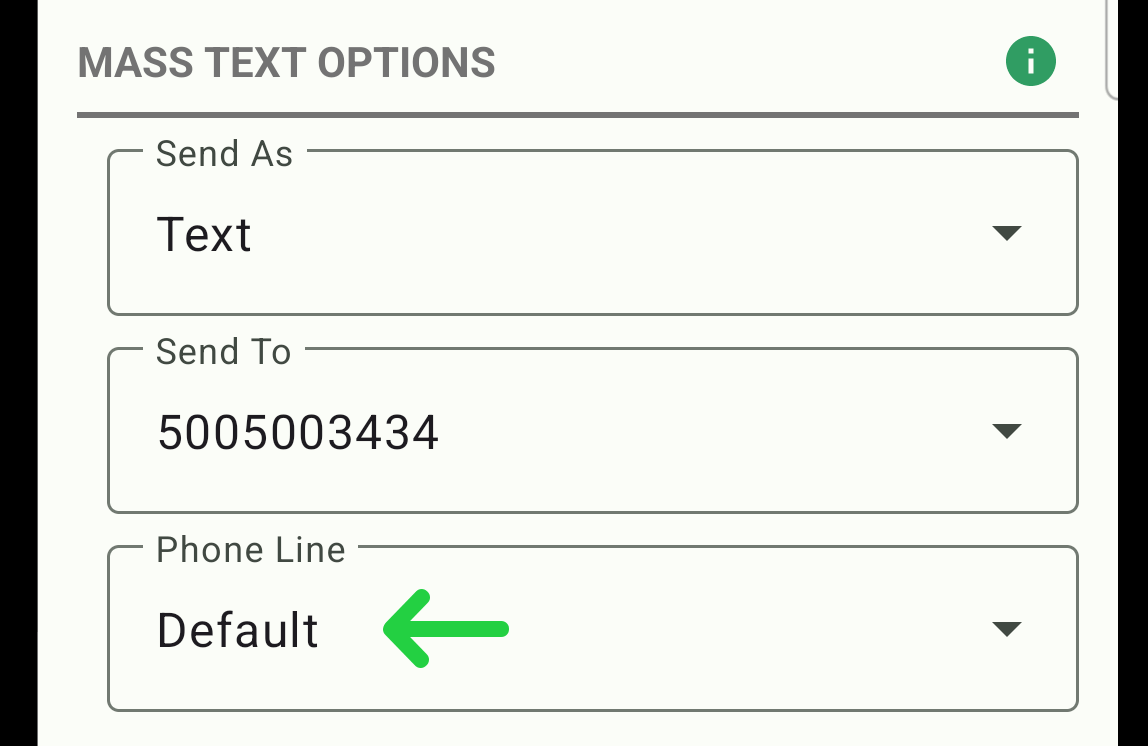
- Phone Line: Choose the communication line from which the message will be sent. This dropdown is only available if "Text" is selected in the "Send As" menu.
3. Templates Fields
The Templates section serves as a flexible resource for creating customized messages for various purposes. When you define templates on the contact's edit page, they appear in a dropdown menu during message composition, enabling their insertion into messages as templates.
To add a new template, tap on the "Add Field" button.

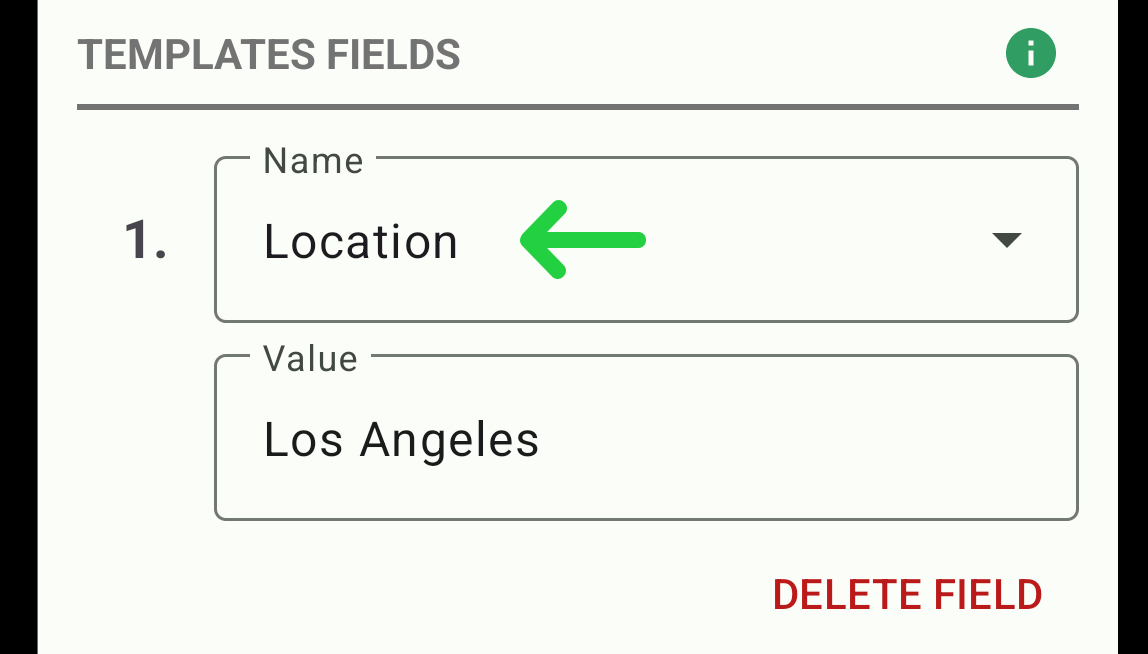
Then, two fields will appear where you can select a template name from the ones provided or enter any other name of your choice and set the value of the template.
- Name: You can select a template name from the provided options or enter any other name of your choice.
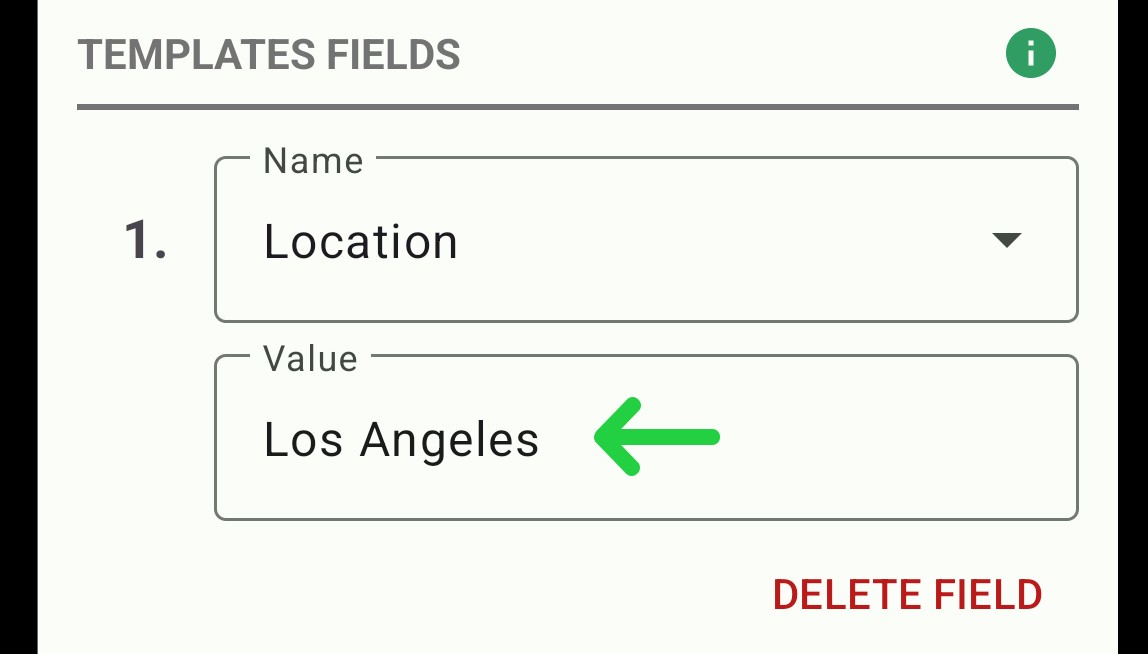
- Value: Enter the value for the template.
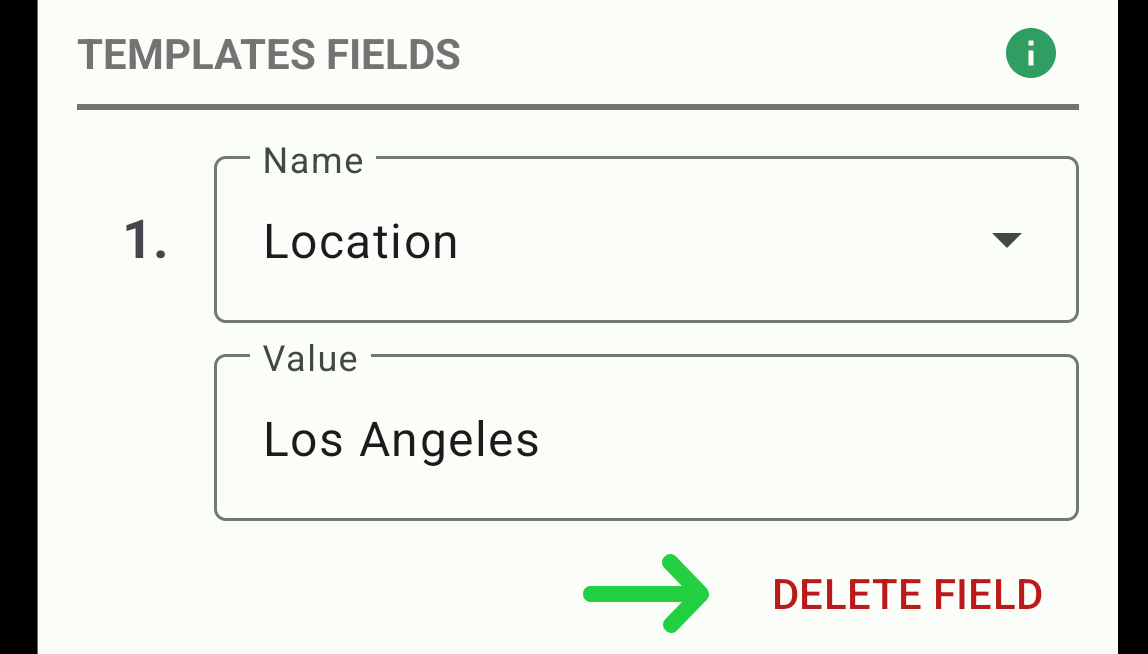
Once at least one template has been added, a "Delete Field" button will appear below the template. Tapping this button will allow you to delete the corresponding template.
Example Usage. Consider you have added a Location template to three different contacts. For the first contact, the value of this template is Los Angeles, for the second - New York, for the third - Sarasota.
Go to the messages and compose your message using the newly created template.
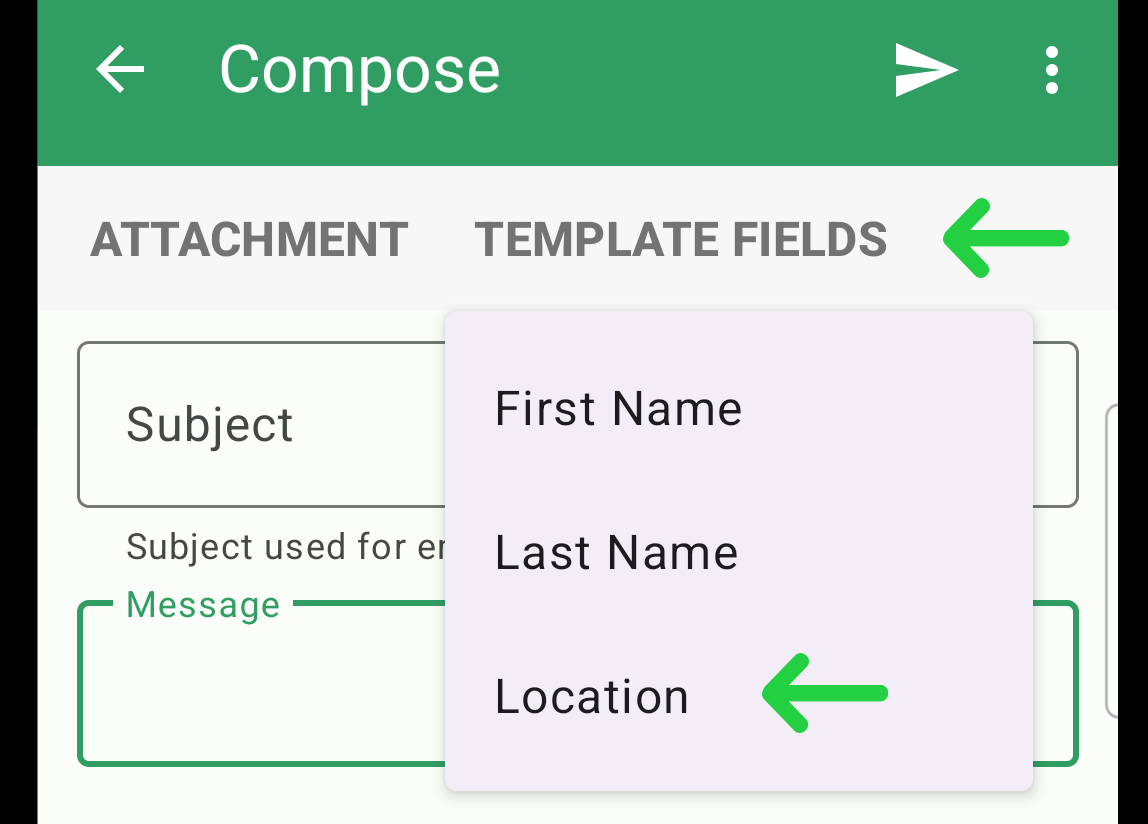
During message composition, you could use this template to personalize each message based on the contact’s Location template. Your message could look like this:
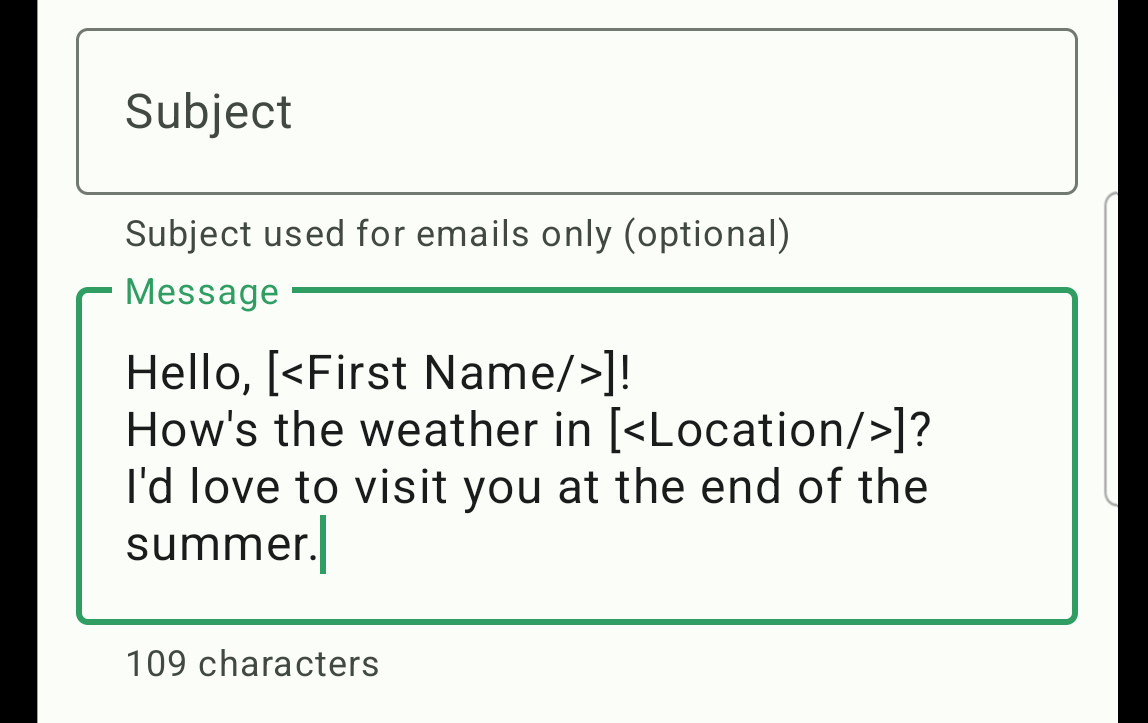
In turn, the contacts will receive messages like:
"Hello, Annie! How's the weather in Los Angeles? I'd love to visit you at the end of the summer."
"Hello, Kate! How's the weather in New York? I'd love to visit you at the end of the summer."
"Hello, Charlie! How's the weather in Sarasota? I'd love to visit you at the end of the summer."
This example demonstrates how templates can be used to customize messages, making each communication feel more personal and relevant to the recipient.
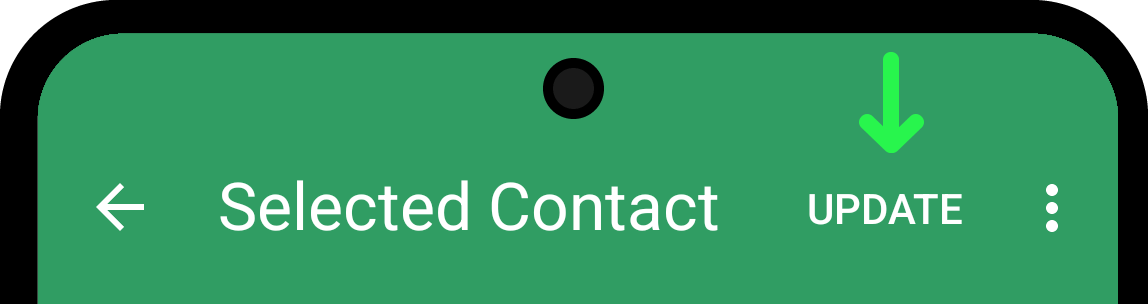
Save Changes
To save changes made to the contact, press the Update button in the upper right corner.
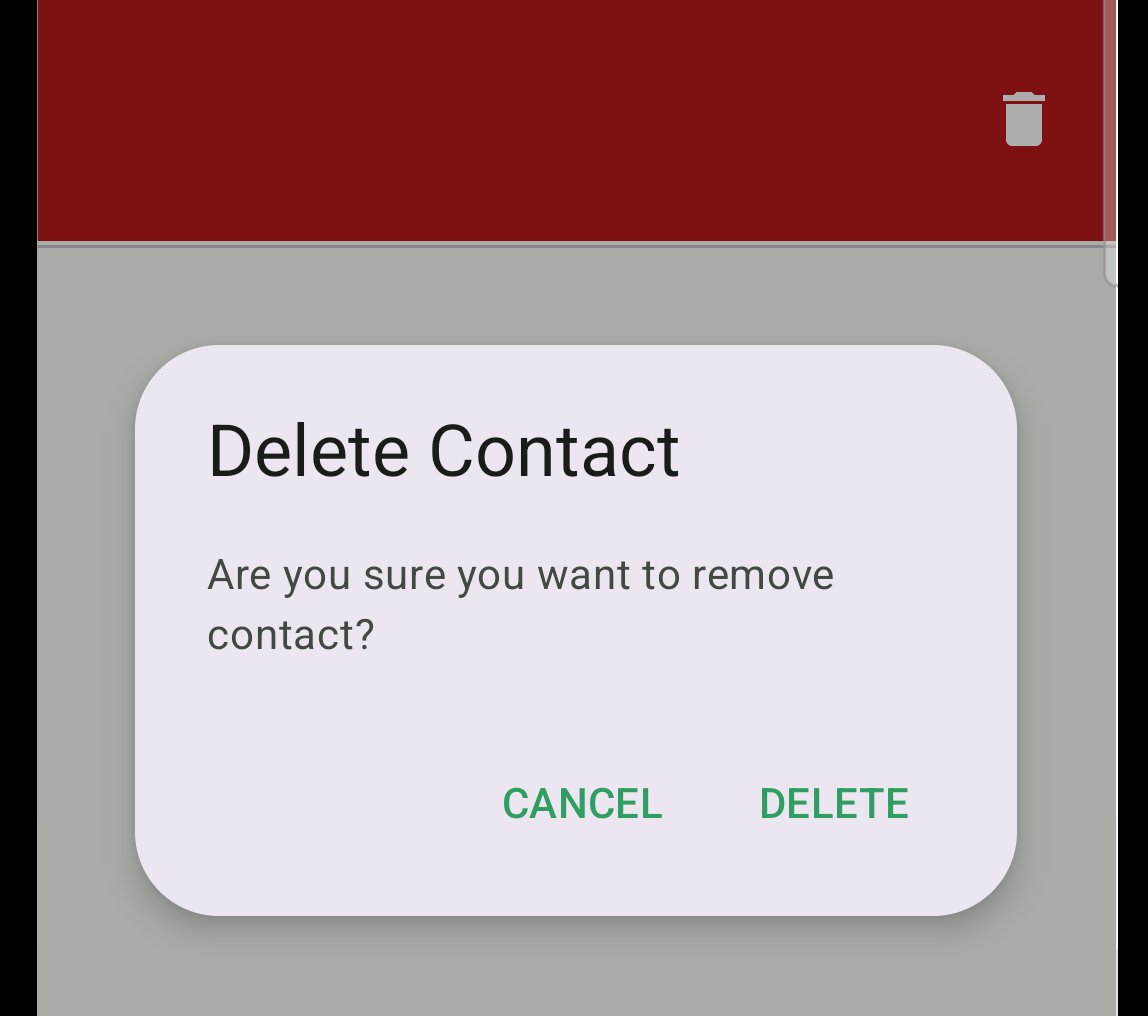
Delete Contact from Group
To delete a contact, swipe left on the contact. A red stripe will appear in place of the contact, and a pop-up will ask for confirmation to delete the contact. Press "Delete" to confirm and remove the contact.
The deletion will not affect your Phone Contacts or other groups within the Reach app.