Android - Data Backup
Overview
Data backup is essential for protecting your information in case of accidental deletion, data loss, or when switching devices. By creating a backup, you can restore your data easily whenever needed. This guide will walk you through the process of enabling cloud backups using Google Backup and creating manual backups within the Reach application.
Enabling Google Backup
To ensure your data is safely backed up to the cloud, follow these steps to enable Google Backup on your device:
Navigate to the settings menu on your device.
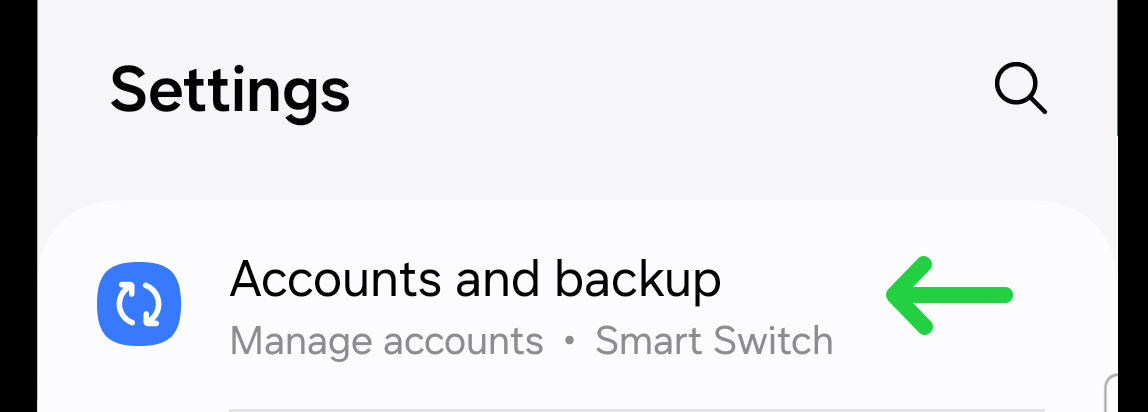
Find and select the "Accounts and Backup".
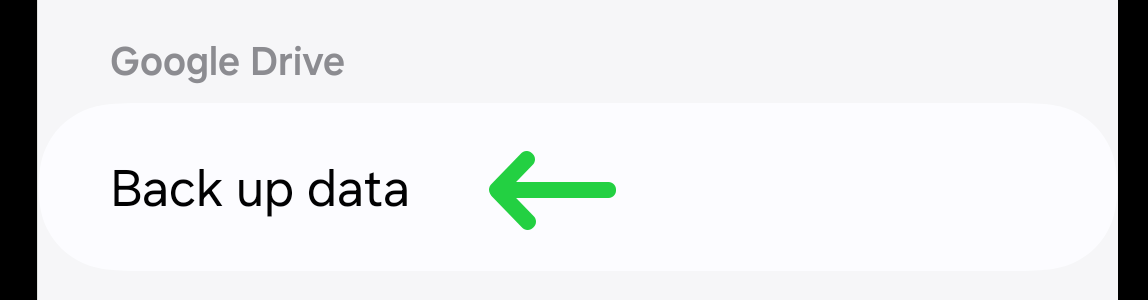
Find Google Drive section, locate and tap on "Back up data".
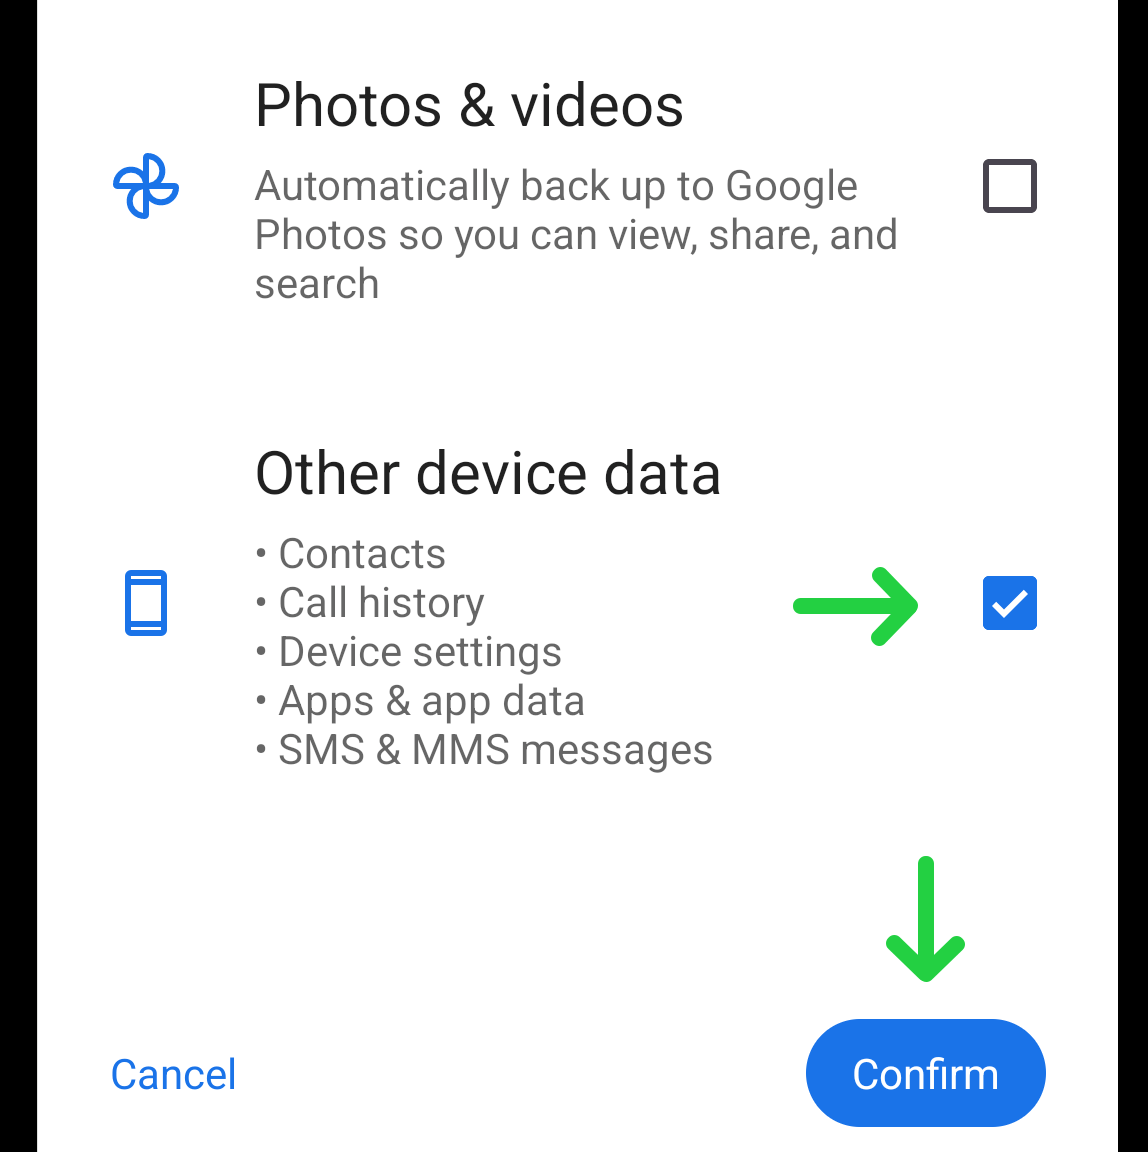
On the following page, check the box next to "Other device data". Press the "Confirm" button to enable the backup.
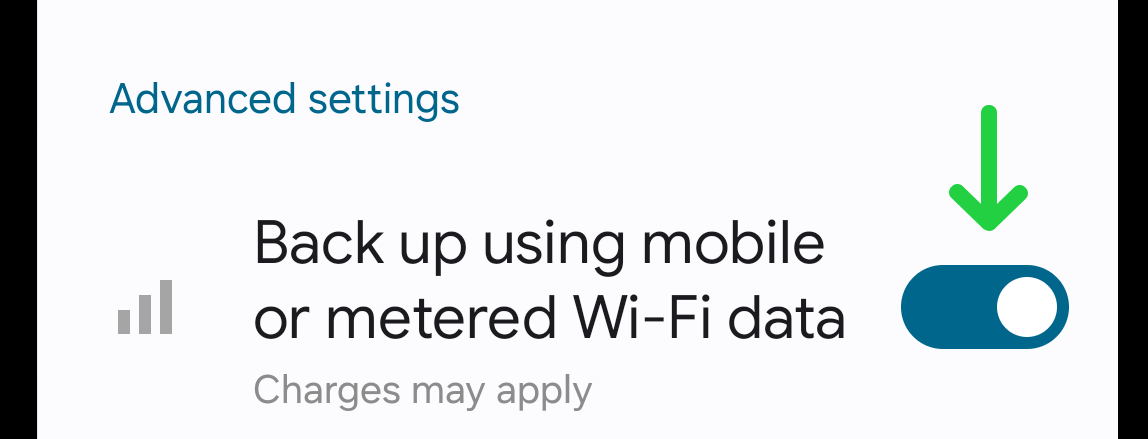
Ensure that the backup is performed. If your device is set to back up only over Wi-Fi, and you're not connected to Wi-Fi, you can enable backups over mobile data:
- Scroll down the Google Drive backup page.
- Toggle on the setting for "Back up using mobile or metered Wi-Fi data (charges may apply)".
Once Google Backup is enabled on your device, your data will be securely stored in the cloud.
Setting Up Automatic Backups in Reach
To automate backups within the Reach application:
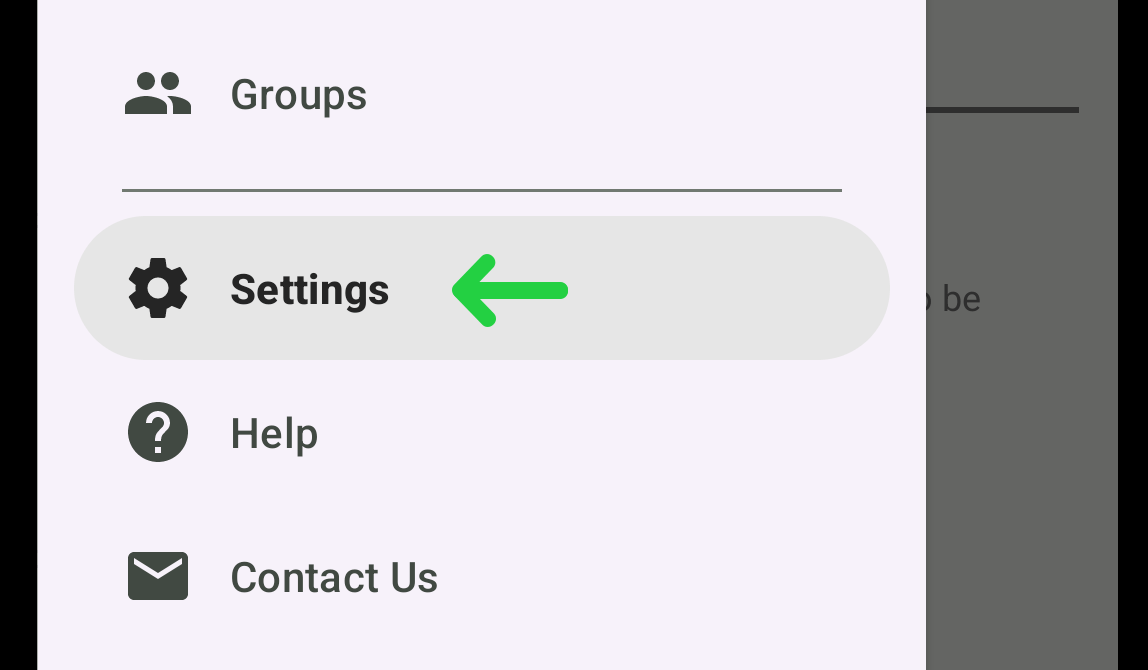
Launch the Reach app on your device. Open the Settings via the drawer menu.
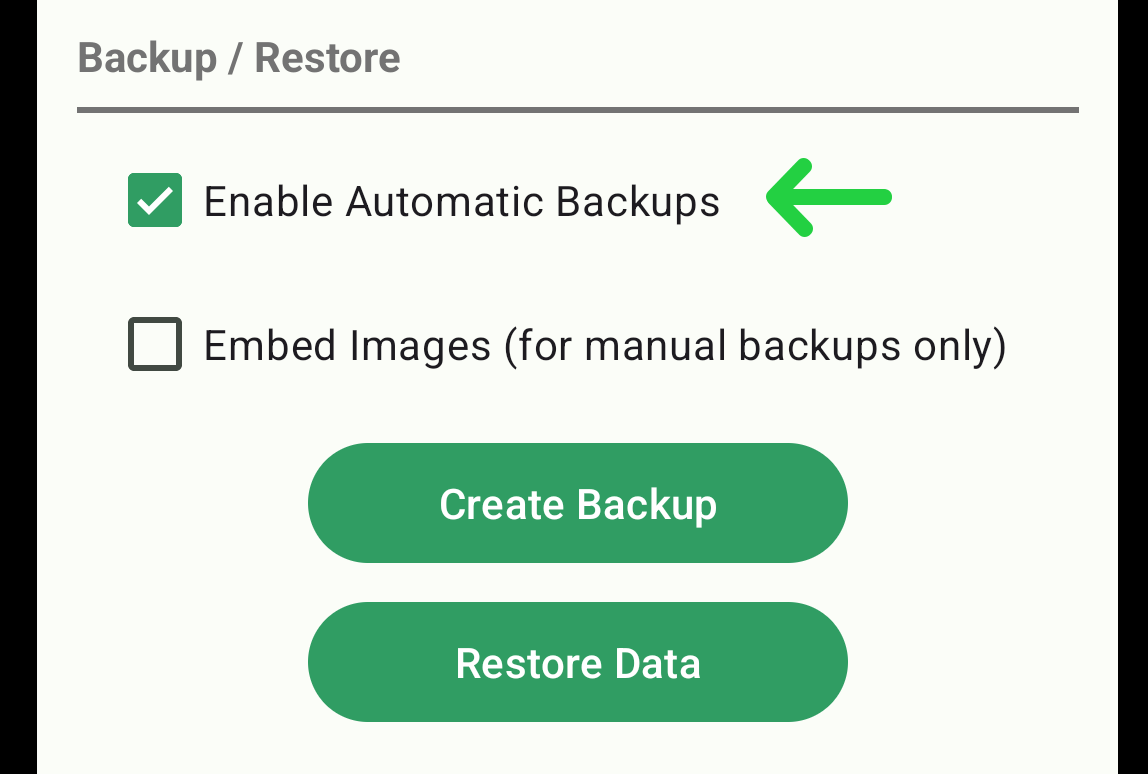
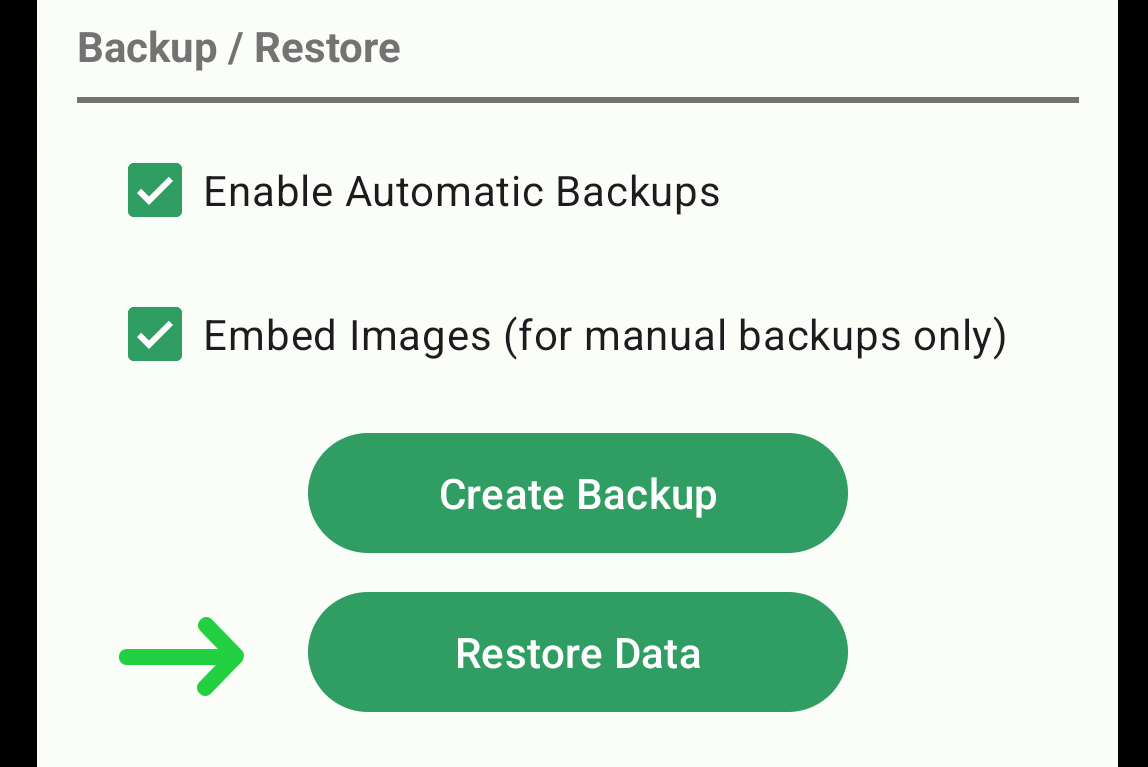
In the settings, find and navigate to the "Backup / Restore" section. Check the box next to "Enable Automatic Backups".
Once enabled, a backup will be created within 30 minutes and automatically uploaded to the cloud.
Creating Manual Backups in Reach
In addition to automatic backups, you can create manual backups whenever necessary:
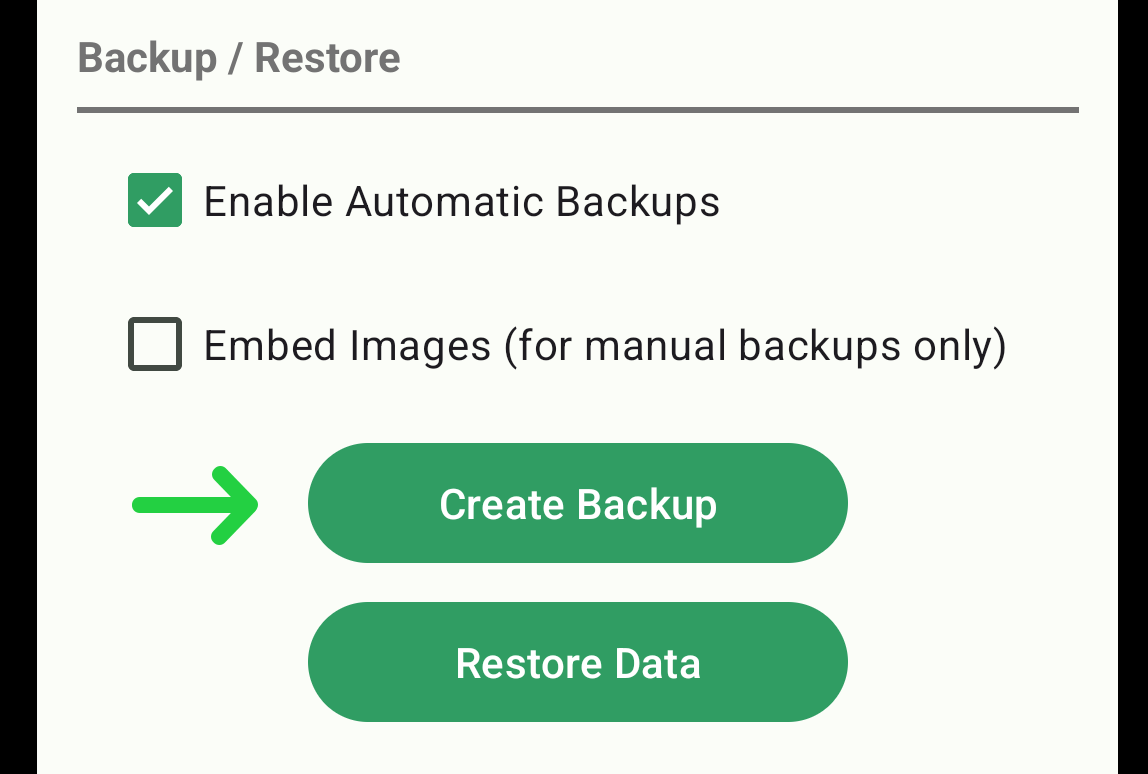
Navigate to the "Backup / Restore" section in the settings. Press the "Create Backup" button.
Tap the "Save" button to store the backup file on your device.
Embed Images in Backup
If your messages contain images, you can choose to include them in the backup. This option is only available for manual backups. Sometimes, when restoring data from a backup, access to the images you used as attachments in your messages can be lost. To ensure that all your attachments remain accessible after restoring your data, make sure to use this option.
Navigate to the "Backup / Restore" section in the settings. Check the box next to "Embed Images".

When you enable this option, the app may request permission to access files and media. Tap "Request Permission" in the pop-up.
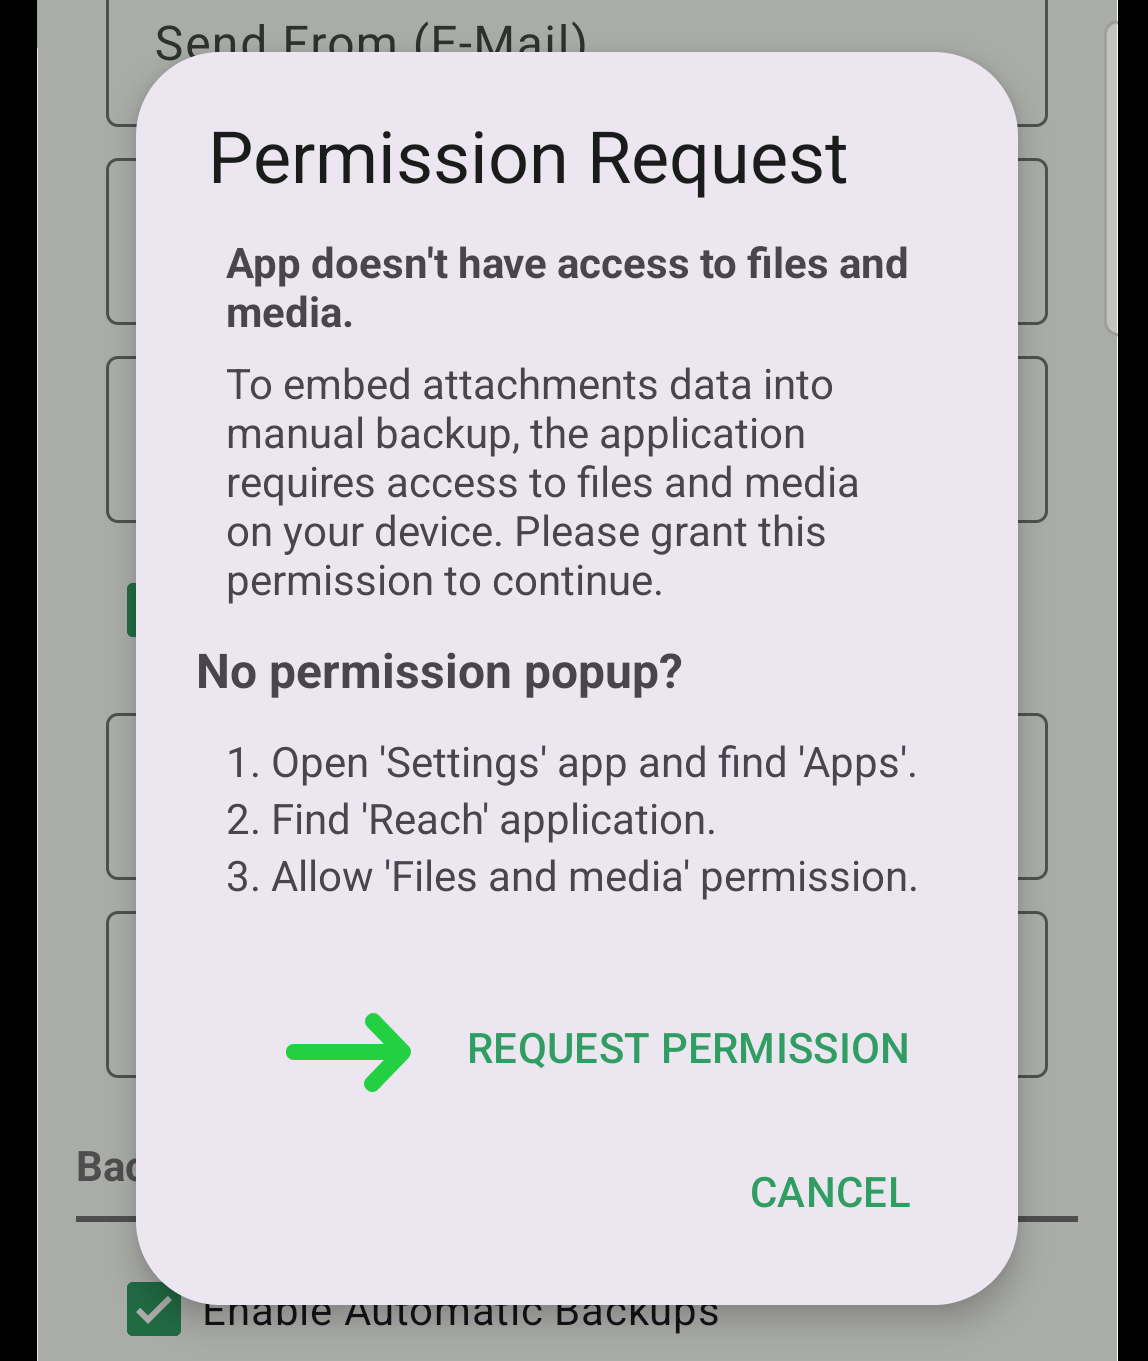
Choose "Allow all" or "Allow limited access" if you want to select only specific files that you've used as attachments in the Reach app.
Restoring Data from a Backup
If you need to restore your data due to loss or when switching to a new device, follow these steps:
Go to the "Backup / Restore" section in the settings and press the "Restore Data" button.
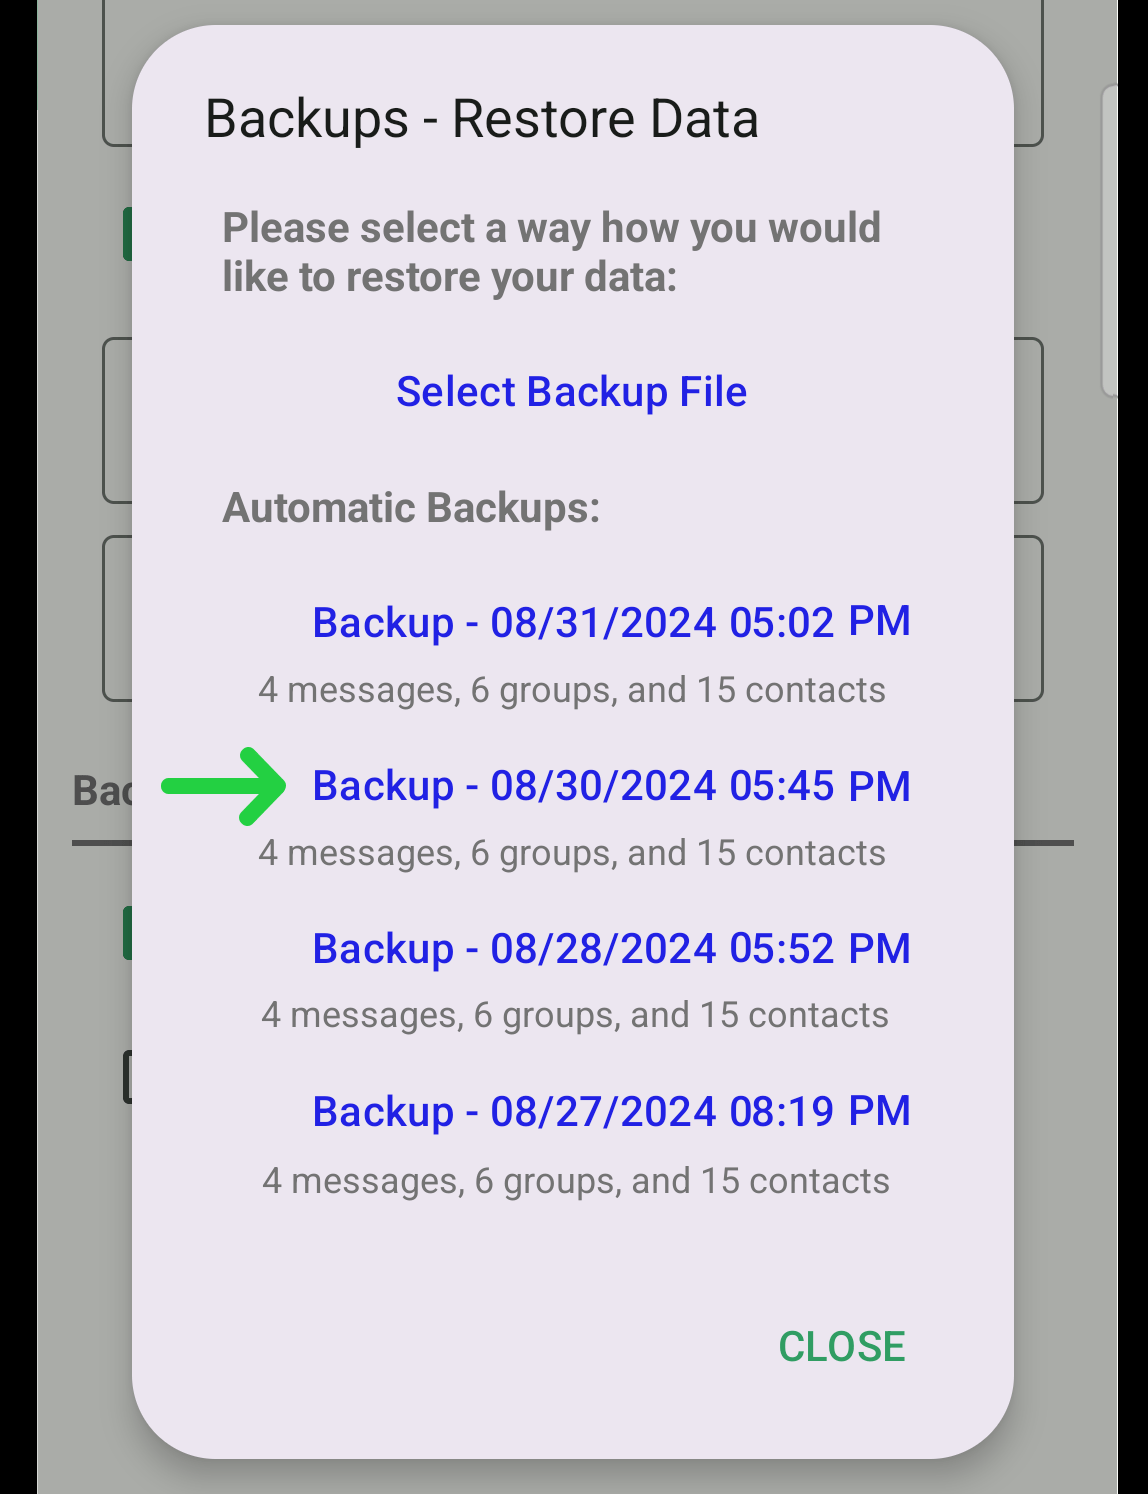
A pop-up will appear with a list of available backups. Be aware that restoring a backup will erase all current data in the Reach app. Choose the backup you want to restore.
If you have a manual backup, tap the "Select Backup File" in the pop-up.
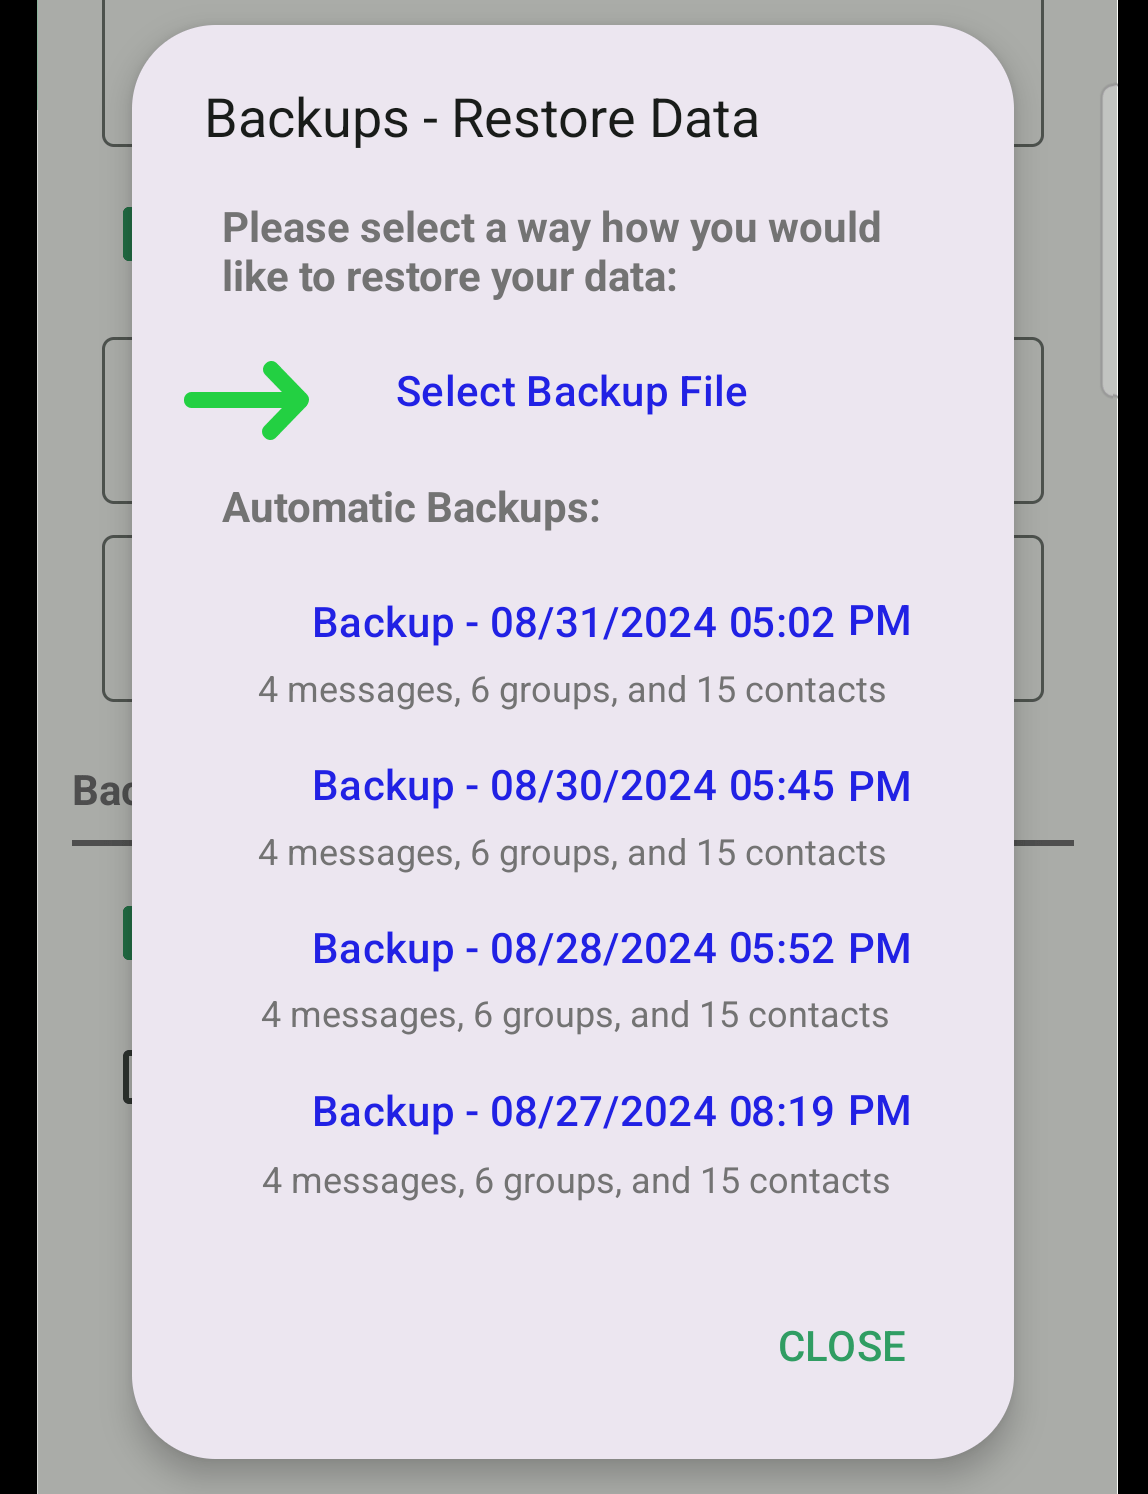
Choose the backup file you manually saved from your files on the device or its storage location.